
How to remove road grime from car undercarriage usually comes down to two things: softening the buildup without damaging coatings, then rinsing it away without blasting water into places it should not go.
If you drive in rain, snow states, or anywhere road crews use salt or brine, undercarriage gunk is not just “dirty,” it can trap moisture against metal and seams. That’s when surface corrosion starts showing up earlier than you expect.
This guide helps you figure out what kind of grime you’re dealing with, what tools and chemicals are worth using, and a practical routine you can repeat every few weeks without turning it into a whole Saturday project.
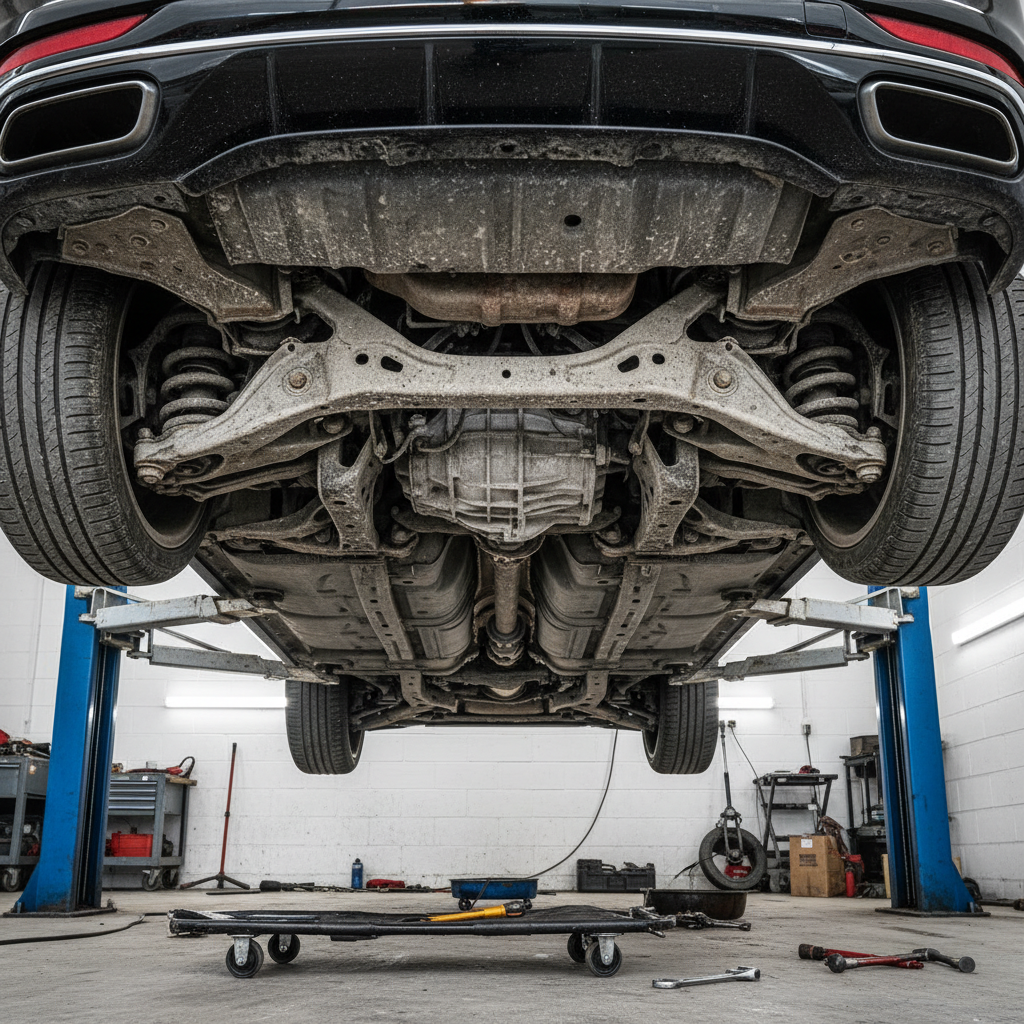
What road grime really is (and why it sticks so hard)
“Road grime” is usually a mix of oily film, dirt, brake dust, asphalt tar, and in many states, salt or magnesium/calcium chloride deicers. The reason it clings under the car is simple: it gets heated, compressed by airflow, then layered over time.
The undercarriage also has plenty of textured surfaces, seams, and cavities, which basically act like shelves for buildup. And if your vehicle has undercoating or sound-deadening panels, grime can embed in that slightly porous surface instead of just sitting on top.
According to NOAA, road salt lowers the freezing point of water, which helps with winter traction, but those chlorides are also part of why corrosion risk rises in cold-weather regions. You’re not “fixing” the environment, you’re just reducing how long that salty moisture stays on the vehicle.
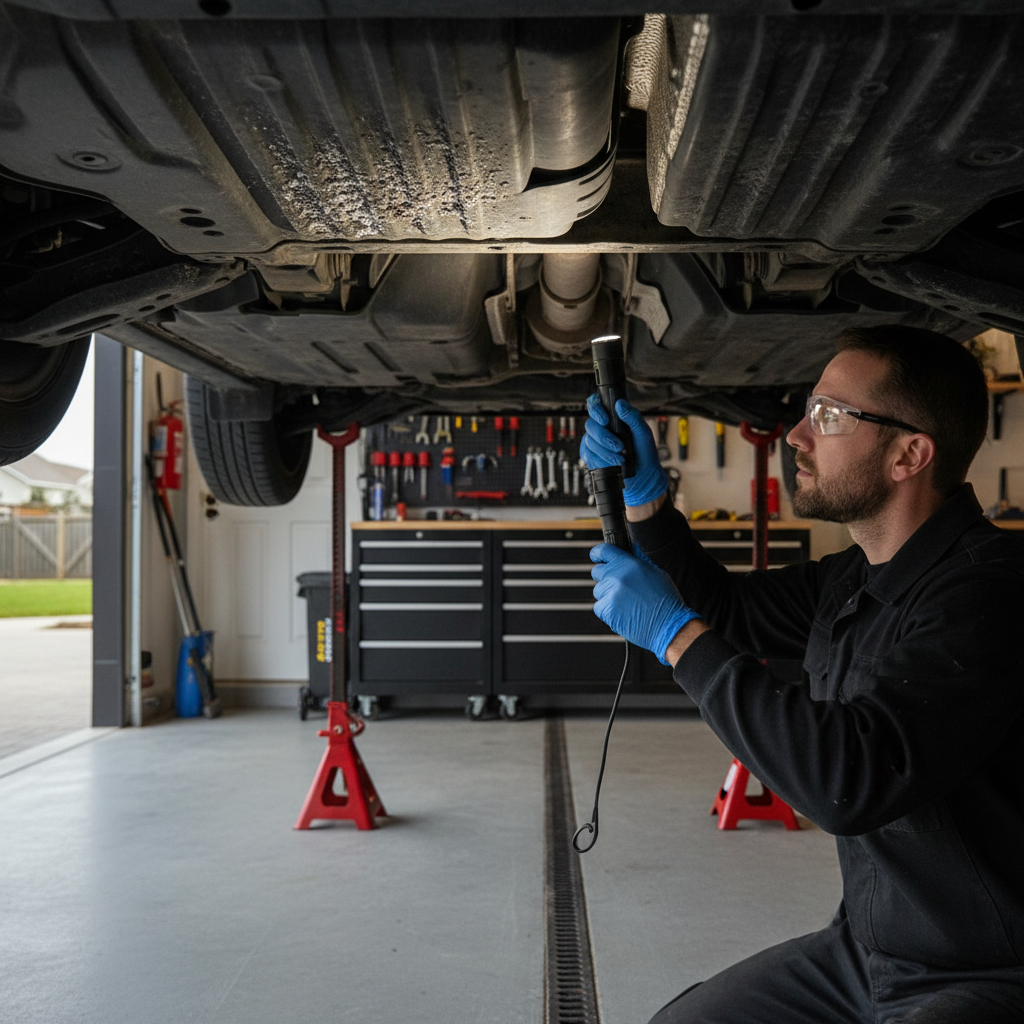
Quick self-check: what type of buildup do you have?
Before you spray anything, do a 60-second check. It helps you avoid wasting time with the wrong cleaner or too much pressure.
- Dry, dusty dirt that brushes off easily: usually a strong rinse plus light soap works.
- Greasy black film on subframe or control arms: often oil mist plus dirt, a gentle degreaser helps.
- Brown sticky spots near rocker panels/wheel wells: likely tar/asphalt, you may need a tar remover.
- White crusty residue: often salt/brine, prioritize thorough flushing and drying.
- Flaking rust or heavy scaling: cleaning helps visibility, but it’s a different problem than “grime.” Consider inspection.
Key point: if you see wet, fresh oil drips, skip heavy washing right there and locate the leak first. Washing can spread oil onto rubber bushings and make diagnosis harder.
Tools and products that make the job easier
You can clean an undercarriage with basic stuff, but a couple add-ons reduce frustration a lot. Here’s a practical comparison.
| Tool/Product | Best for | Watch-outs |
|---|---|---|
| Garden hose with spray nozzle | Routine rinses, loose dirt, salt flushing | May not remove oily film without soap |
| Pressure washer (wide fan tip) | Stubborn mud, winter salt, wheel well caked grime | Avoid close-range blasting near seals, wiring, bearings |
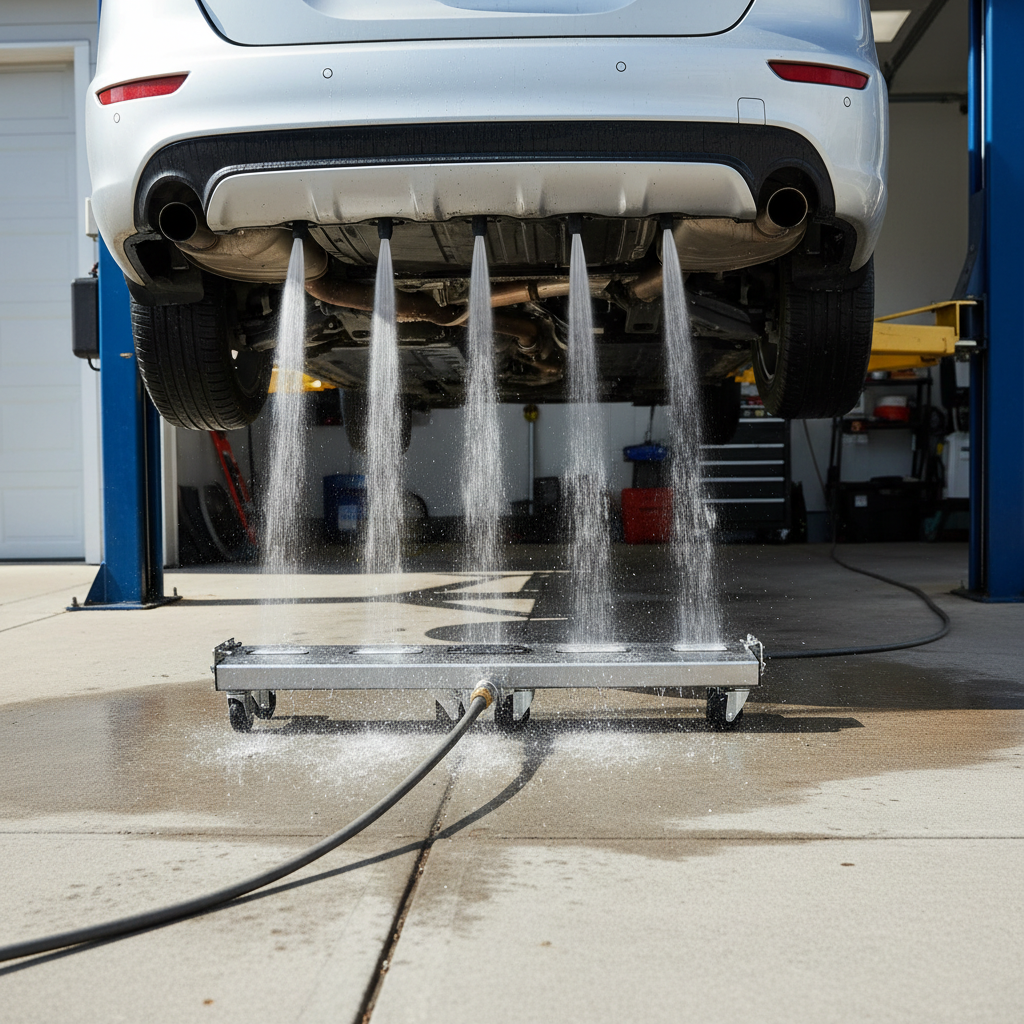
| Undercarriage rinse attachment | Even coverage without crawling under | Still needs dwell time with cleaner for oily grime |
| pH-balanced car shampoo | General cleaning, safer on coatings | Not strong enough for grease/tar alone |
| Degreaser (automotive, diluted) | Oily road film, greasy buildup | Test first; don’t soak rubber or fresh undercoating |
| Tar remover | Asphalt/tar spots | Use sparingly, follow label, rinse well |
According to U.S. EPA guidance on household chemicals, you should follow label directions and avoid letting cleaners enter storm drains. In practice, that means using the minimum product, rinsing on a surface that drains to sanitary sewer when possible, or using a commercial car wash designed for runoff handling.
Step-by-step: a safe undercarriage cleaning routine
This is the workflow that works for most daily-driven cars and SUVs. It’s not fancy, it’s repeatable.
1) Choose a safe place and let things cool
- Work on level ground with good drainage.
- Let the exhaust and brakes cool, hot metal plus cold water can be a bad combo.
- If you need lift, use ramps or a jack and stands rated for your vehicle. If you’re not confident, a drive-through wash with underbody spray is the safer call.
2) Start with a plain rinse (top priority in salt states)
Rinse first to remove loose grit. This lowers the chance you grind dirt into protective coatings while scrubbing.
- Use a wide fan spray pattern, keep distance, and sweep slowly.
- Spend extra time on wheel wells, behind splash guards, and the rear suspension area.
3) Apply cleaner and give it time to work
For general grime, car shampoo works. For oily film, a diluted degreaser is usually more effective. The trick is dwell time, giving the product a few minutes to break the bond, without letting it dry.
- Spray cleaner onto the dirty areas, not directly into electrical connectors.
- Wait 2–5 minutes, re-mist if it starts drying.
4) Light agitation where it matters
You don’t need to scrub every inch. Use a long-handled soft brush on accessible areas like plastic shields and the lip of wheel wells.
- Avoid wire brushes on coated parts, they can strip protection.
- Don’t tug on splash shields or clips that already look brittle.
5) Rinse thoroughly, then rinse again
This is where most people underdo it. If you used any chemical cleaner, you want it fully flushed out, especially around seams and brackets.
- Rinse until runoff looks clear, then do a second pass.
- If you used a pressure washer, keep the nozzle moving and stay back from boots and seals.
6) Dry and drive
Let the vehicle drip dry, then take a short drive to help evaporate trapped water. If you can, avoid parking immediately on dusty gravel, which can stick to wet surfaces.
Real-world scenarios (what to do when rinsing isn’t enough)
If you’re dealing with winter salt buildup
Salt is more about removal frequency than “stronger chemicals.” A weekly or biweekly underbody rinse during peak winter often beats one aggressive cleaning in spring.
- Focus on flushing cavities around suspension mounts and subframes.
- Consider a car wash with an underbody option when temperatures make driveway washing impractical.
If you have tar and asphalt specks
Don’t keep increasing water pressure. Use a tar remover on a towel or targeted spray, let it work briefly, then rinse. Many tar removers are solvent-based, so keep them off fresh rubber and avoid overspray.
If you see oily sludge near the engine or transmission area
That’s when how to remove road grime from car undercarriage overlaps with “do I have a leak.” Clean lightly so you can monitor, then check again after a few drives. If fresh wetness returns, a mechanic can pinpoint it faster.
Mistakes that cause damage (or just waste your time)
- Blasting close-range into seals and boots: CV boots, steering rack boots, and some bearings don’t love high-pressure water.
- Letting degreaser dry: it can leave residue and streaking, plus it becomes harder to rinse out of seams.
- Over-scrubbing coated parts: many undercarriages have factory coatings, you’re trying to preserve them.
- Ignoring the wheel wells: they hold a lot of the salt and mud that later migrates elsewhere.
- Cleaning without a plan for runoff: in many areas, driveway chemical runoff is discouraged or restricted, check local rules.
If you’re aiming for prevention, consistency matters more than chasing a “perfectly spotless” underside. Most people quit because they made it too complicated.
When to consider a pro inspection or additional protection
Cleaning helps you see what’s going on, but it won’t reverse corrosion. It may be time to get help if any of this sounds familiar.
- You see flaking metal, deep pitting, or rust around brake/fuel lines.
- Plastic shields are missing or hanging, exposing wiring or components.
- You hear new rattles after winter, sometimes it’s a loose shield packed with debris.
- You want an oil-based rust inhibitor or undercoating and you’re unsure what’s compatible with your vehicle.
According to NHTSA, vehicle maintenance and safety inspections matter for safe operation. If you suspect corrosion affecting steering, braking, or structural areas, it’s reasonable to consult a qualified technician rather than guessing.
Conclusion: keep it simple, keep it frequent
If you’re trying to figure out how to remove road grime from car undercarriage, the winning formula is usually a gentle rinse, the right cleaner for the right mess, and enough time to flush everything out. Do it often enough that buildup never turns into a hardened layer.
Your next step can be small: schedule a 10-minute underbody rinse after the next storm or salty commute, then do a deeper clean once a month. That rhythm tends to stick.
FAQ
How often should I clean my car undercarriage?
If you’re in a snow/salt region, a rinse every 1–2 weeks during winter is common, with a deeper wash monthly. In dry climates, seasonal cleaning may be enough unless you drive dirt roads.
Is a pressure washer safe for the undercarriage?
Usually yes if you use a wide fan tip, keep distance, and avoid directly spraying seals, electrical connectors, and rubber boots. When in doubt, lower pressure beats “more power.”
Can I use dish soap to remove undercarriage grime?
It can cut grease, but it may be harsher than car shampoo and can strip some waxes or protective films. For routine cleaning, a car-specific soap is typically the safer choice.
What removes road tar from the underside best?
A dedicated tar remover used sparingly tends to work better than extra scrubbing. Do a spot test first, keep it targeted, and rinse thoroughly so residue does not linger.
Will cleaning the undercarriage prevent rust?
It can reduce risk by removing salt and moisture-trapping grime, but it won’t stop rust in every case. Existing corrosion, coating condition, and local climate all affect outcomes.
Should I get an undercarriage wash at an automatic car wash?
If you don’t have a good setup at home, it’s a practical option, especially in winter. Results vary by wash system, so it still helps to do an occasional deeper cleaning.
Is it okay to spray degreaser everywhere underneath?
I wouldn’t. Use it where oily film exists, dilute as directed, and avoid soaking rubber and sensitive areas. If you’re unsure about compatibility, check your product label or ask a detailing pro.
What if I notice rust flakes after cleaning?
That usually means the cleaning revealed what was already there. If flakes appear near brake lines, suspension mounts, or frame areas, it’s smart to have a professional inspect it.
If you’re trying to keep winter salt from turning into year-round corrosion, a simple undercarriage rinse routine plus the right cleaner can save time, and if you’d rather not experiment with products or pressure settings, a reputable local detailer can set you up with a maintenance plan that fits your driving conditions.