
how to clean car radiator for better cooling starts with one simple idea: you need clean airflow through the fins and clean coolant flow inside the core, otherwise the radiator can’t dump heat fast enough.
If your temp gauge runs higher in traffic, the A/C feels weaker at idle, or you notice crusty residue around the radiator neck, cleaning is often a practical first step before you replace parts. The upside is you can usually improve cooling without touching anything “engine-internal.”
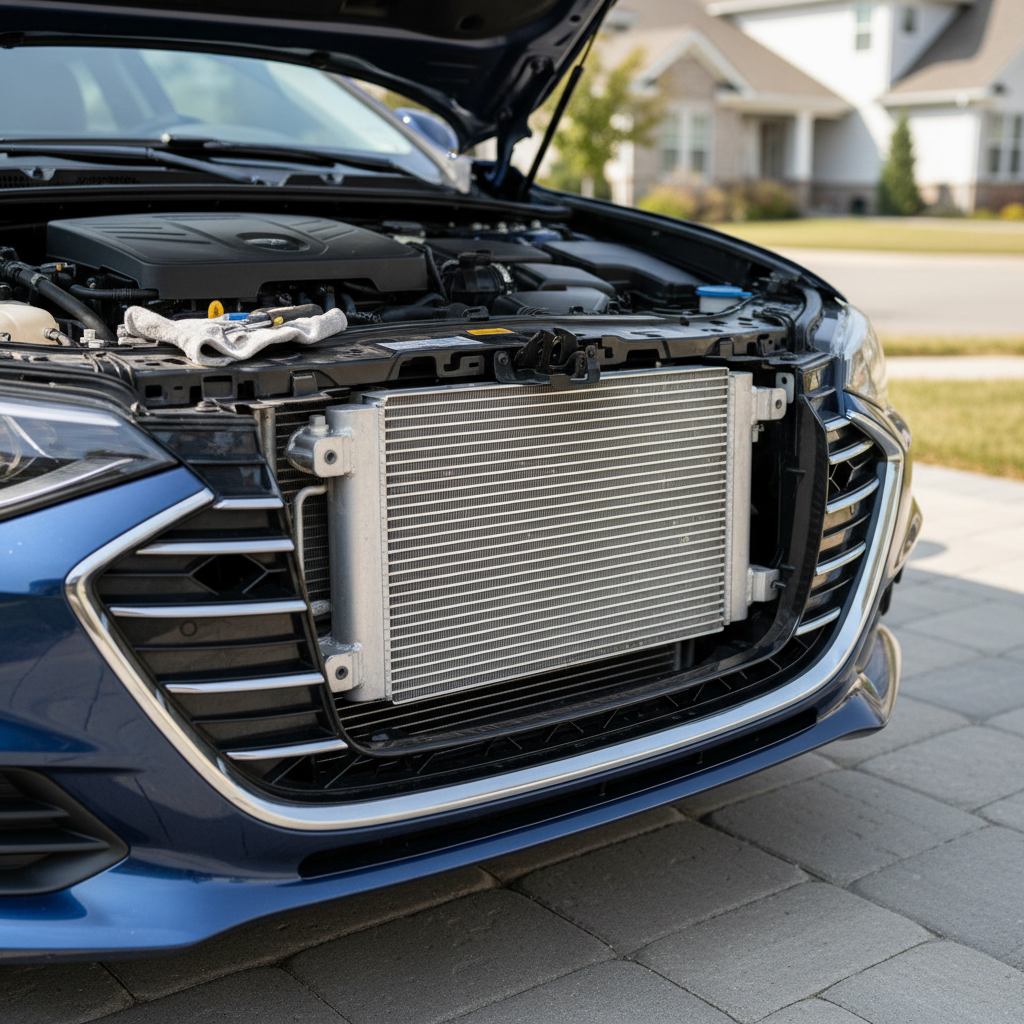
One quick reality check, though: “radiator cleaning” can mean two different jobs, an external fin clean or an internal flush, and they solve different problems. Mixing them up is why people spend an afternoon spraying water and still overheat on the next drive.
What radiator cleaning actually fixes (and what it won’t)
A radiator loses cooling capacity in two common ways: blocked airflow on the outside, and restricted coolant flow on the inside. Cleaning works best when the restriction is light to moderate, not when the core is physically damaged.
- External blockage: bugs, leaves, mud, road salt, and bent fins reduce airflow. This is common if you drive highways, rural roads, or behind trucks.
- Internal deposits: old coolant, mixed coolant types, hard-water top-offs, or corrosion can create scale and sludge, narrowing passages.
- What cleaning won’t fix: a failing water pump, a stuck thermostat, a weak radiator cap, a bad fan motor/relay, head gasket issues, or a radiator with widespread internal collapse.
According to NHTSA, overheating can increase crash risk if it leads to a stall or loss of power in traffic, so treat a consistently hot gauge as more than an annoyance and avoid pushing the car hard until you identify the cause.
Quick self-check: do you need an external clean, a flush, or both?
Use this as a fast sorting tool before you buy chemicals.
| Symptom | More likely cause | What to try first |
|---|---|---|
| Runs hot at highway speeds | Airflow blocked, fins bent, or internal restriction | Inspect fins + external clean, then consider flush |
| Runs hot in stop-and-go, OK on highway | Fan/fan control issue more likely than radiator | Verify fans work, then external clean |
| Coolant looks rusty/brown or has “mud” | Internal corrosion/sludge | System drain/flush, refill with correct coolant |
| Sweet smell, wet spots near radiator | Leak (hose, cap, tank seam, core) | Pressure test, repair leak before flushing |
| A/C weak at idle, improves while moving | Airflow issue (condenser/radiator face clogged) | External clean of condenser + radiator |
Tools and supplies (what you actually need)
You don’t need a shop full of gear, but you do need the right few items so you don’t fold fins or introduce air into the system.
- Nitrile gloves and eye protection (coolant and cleaners can irritate skin/eyes)
- Garden hose with gentle spray, or a low-pressure sprayer
- Soft nylon brush and/or fin comb for straightening
- Foaming coil cleaner or radiator-safe exterior cleaner (avoid harsh acids on aluminum)
- Catch pan for coolant if you’re draining
- Correct coolant type and distilled water for mixing (if not premixed)
- Basic hand tools for shields or intake ducts that block access
Key point: if you plan an internal flush, look up the factory coolant spec for your exact model. Mixing “universal” coolant with certain OEM chemistries can create deposits over time, so it’s worth getting this right.
How to clean the radiator externally (airflow side)
This is the safest “first move” for better cooling because it doesn’t change coolant chemistry and it’s low-risk if you keep pressure gentle.
1) Work cold and get access
Let the engine cool completely. Open the hood and remove any upper covers that block the radiator and A/C condenser face. If there’s a plastic undertray, it can help to loosen it so debris can rinse out.
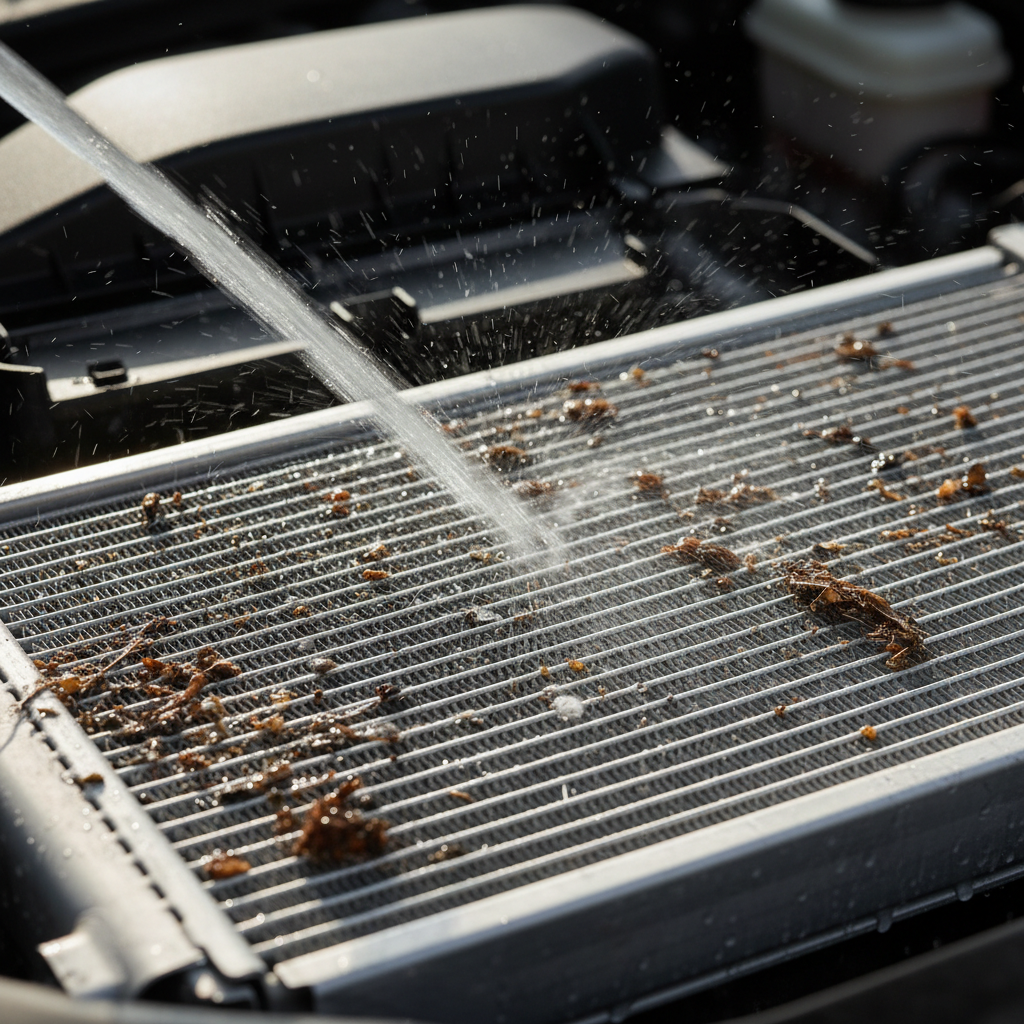
2) Rinse from the back side if possible
If you can reach from the engine side, rinse outward toward the grille. That pushes debris out the way it came in, instead of packing it deeper. Use low pressure; a pressure washer can fold fins and reduce airflow.
3) Use cleaner only if plain water isn’t enough
For oily road film or heavy bug residue, apply a radiator/coil-safe foaming cleaner, let it dwell per label, then rinse thoroughly. Avoid getting cleaner into electrical connectors and avoid soaking the alternator area.
4) Straighten fins carefully
If fins are mashed flat in patches, a fin comb can restore airflow. Don’t chase perfection; you’re aiming for “more open” without puncturing tubes.
- Small bent areas: gently lift with a plastic pick or fin tool.
- Large crushed sections: replacement may be more realistic than hours of combing.
How to clean the radiator internally (drain, flush, refill)
If the coolant is dirty or you suspect internal restriction, this is the part most likely to improve heat transfer. It’s also where people create new problems by trapping air or using the wrong coolant.
According to EPA guidance on antifreeze, used coolant should be handled and disposed of properly, since it can be harmful to people and animals. Many auto parts stores or local facilities accept it, but rules vary by area.
1) Inspect before you drain
- Check hose condition (soft spots, cracks, bulges).
- Look for dried crust near seams, cap area, drain petcock.
- If you see obvious leaks, repair first; flushing a leaking system wastes coolant and can pull air in.
2) Drain coolant into a clean pan
Open the radiator drain petcock if equipped, or remove the lower hose if not. Keep coolant off the ground. If the coolant comes out with heavy rust flakes or thick sludge, a simple “quick flush” may not be enough.
3) Flush with water (and use chemical flush only when needed)
- Light contamination: fill with distilled water, run the heater on full hot with engine at operating temp, then cool and drain again.
- Heavier deposits: a radiator flush chemical can help, but follow dwell times exactly and rinse thoroughly. Overdoing chemical flush can be rough on older seals.
4) Refill with the correct coolant mix and bleed air
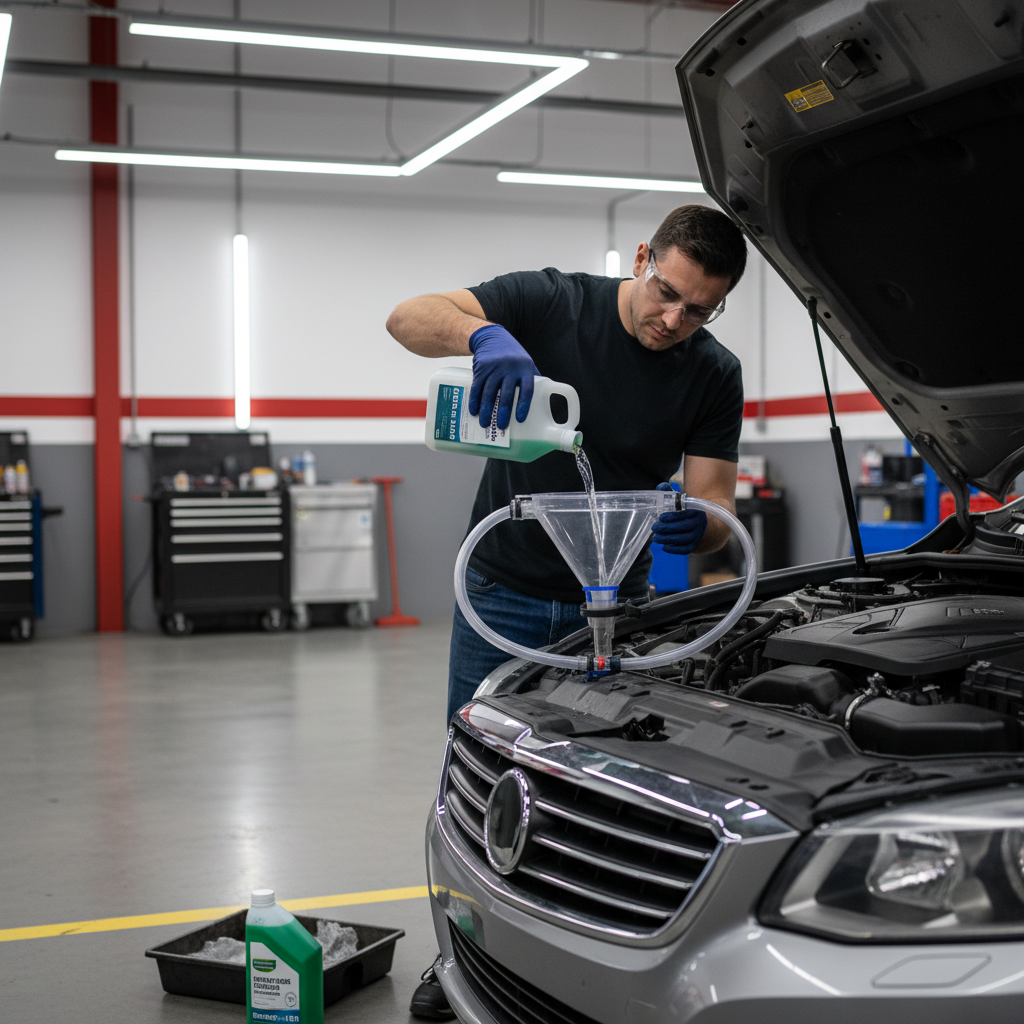
Refill with OEM-specified coolant (or an equivalent that explicitly matches the spec) and distilled water unless premixed. Then bleed air using the vehicle’s procedure: some cars have bleed screws, others require a spill-free funnel and specific warm-up cycles.
Don’t skip bleeding. Air pockets can cause hot spots, heater blow-cold complaints, and erratic gauge readings, which makes it look like the radiator “still isn’t clean.”
Real-world tips that make the job go smoother
- Clean the condenser too: it sits in front of the radiator on many cars, and if it’s clogged, radiator airflow suffers even if the radiator is spotless.
- Check the radiator cap: a weak cap can lower system pressure and raise boiling risk. It’s inexpensive, and replacement is sometimes smarter than guessing.
- Heater on full hot during flush: this opens flow through the heater core on many vehicles, helping move old coolant out.
- Distilled water matters: tap water minerals can contribute to scale in some regions, especially if you top off often.
Common mistakes (and why they keep overheating coming back)
- Using high-pressure water on fins: it looks effective, but flattened fins reduce airflow and can create permanent hot-running.
- Flushing a system with an active leak: you’ll introduce air and end up chasing false symptoms.
- Mixing coolant types: not all coolants play nicely together, and some mixtures can create gel-like deposits in real-world conditions.
- Ignoring fan operation: if fans don’t switch on, cleaning won’t fix overheating at idle.
- Overfilling: many overflow tanks need space to expand; follow the “cold” mark when the engine is cold.
When it’s time to stop DIY and get professional help
If you try how to clean car radiator for better cooling and the car still runs hot, don’t keep driving it “to test.” Persistent overheating can damage the engine, and the next step is usually diagnosis, not more flushing.
- Temperature spikes quickly after start, or you see steam
- Coolant disappears with no visible leak (could be internal, needs careful testing)
- Oil looks milky or coolant looks oily
- Heater stays cold even after proper bleeding
- Radiator has cold spots across the core (possible internal blockage, often found with an infrared thermometer)
A reputable shop can pressure-test the system, test the cap, verify fan commands, and check for combustion gases in coolant. If you’re not equipped for that, paying for a clear answer often costs less than guessing with parts.
Key takeaways and a simple action plan
- Start external: gentle rinse, debris removal, fin inspection, condenser included.
- Go internal when coolant is dirty: drain, flush with distilled water, refill with the correct coolant, bleed air fully.
- Watch for non-radiator causes: fans, cap, thermostat, water pump, and leaks often mimic a “dirty radiator.”
If you want a practical next step, do an external clean this weekend, then monitor temps in the same driving conditions you usually see. If the coolant looks questionable, schedule an internal service soon rather than waiting for a real overheat event.
FAQ
- How often should I clean my radiator for better cooling?
External cleaning depends on where you drive; many people check it every oil change and rinse when bugs/debris build up. Internal service usually follows your vehicle’s coolant interval, unless contamination shows up early. - Can I use a pressure washer to clean radiator fins?
It’s risky. Low pressure is safer because fins bend easily, and bent fins reduce airflow. If you must use higher pressure, keep distance and use a wide fan pattern, but many DIYers still overdo it. - Is radiator flush the same as cleaning the radiator?
No. A flush targets the inside coolant passages, while external cleaning targets airflow through the fins. You may need one, the other, or both depending on symptoms. - What if my car still overheats after I cleaned the radiator?
That often points to fans not engaging, a weak radiator cap, thermostat issues, or a leak introducing air. At that stage, a pressure test and proper diagnostics tend to save time. - Do I need to remove the radiator to clean it?
Usually not for routine external cleaning or a standard drain-and-refill. Removal becomes more common if the radiator is internally blocked beyond flushing, leaking at the core, or physically damaged. - Can I clean a radiator with vinegar or household chemicals?
Some people try it, but results vary and material compatibility matters. Aluminum components and seals can react poorly to harsh or misused chemicals, so a radiator-safe product and the factory procedure are typically the safer route. - Why does my A/C improve when driving but struggles at idle?
Often airflow. At speed, air forces through the condenser and radiator; at idle you rely on fans and clean fin surfaces. Check fan operation and clean the condenser/radiator face.
If you’re trying to solve a recurring hot-running issue and you’d rather not guess, a cooling-system inspection that includes a pressure test, fan verification, and coolant condition check can narrow the cause quickly and keep “radiator cleaning” from turning into a parts lottery.