
how to fix car engine overheating after thermostat change usually comes down to one of a few repeat offenders: trapped air, low coolant, a thermostat installed wrong (or the wrong temp rating), a cap that can’t hold pressure, or a cooling fan/radiator flow issue that the old thermostat was masking.
If you’re seeing the temp gauge climb right after a thermostat swap, don’t keep “testing it” by driving around the neighborhood. Overheating can warp a cylinder head or damage a head gasket in some cases, and the bill escalates fast. The good news is that many post-thermostat overheat problems are fixable with careful bleeding, inspection, and a couple targeted checks.
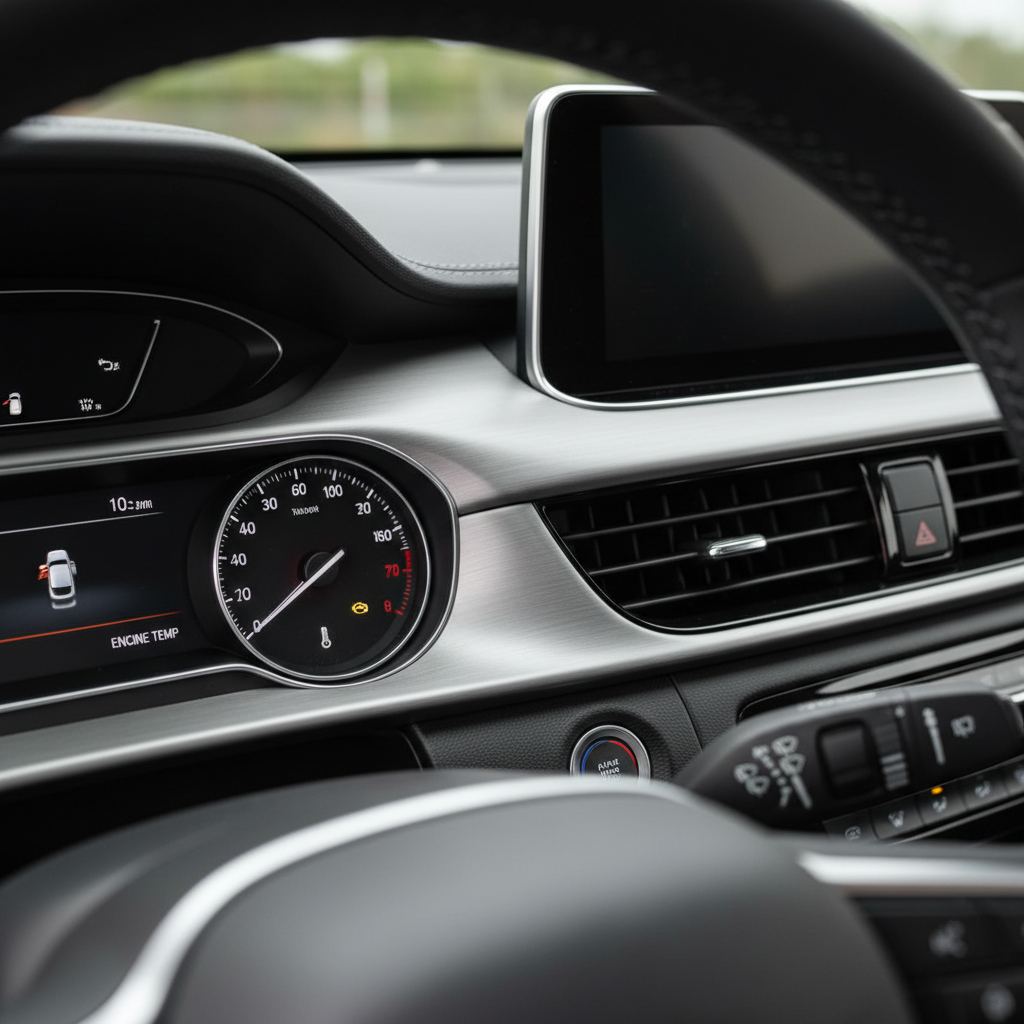
Below is a practical way to narrow it down without guessing. I’ll keep it grounded in what typically happens after a cooling system is opened up, and I’ll point out where you should stop and get professional help.
Key checks first (before you tear anything back apart)
Start with the simplest confirmations. Many overheating cases after a thermostat change are “setup” problems, not a defective engine.
- Stop driving if the needle goes into the red; let the engine cool fully before opening anything.
- Verify the coolant level in the radiator (not just the overflow bottle). Many cars can show a “full” reservoir while the radiator is low.
- Confirm the heater blows hot when the engine is warm. No cabin heat often hints at air trapped in the system or low coolant flow.
- Look for obvious leaks around the thermostat housing, hoses, and clamps.
- Watch radiator fans: when the engine warms up (or AC is on), fans should kick on in many vehicles.
According to NHTSA, engine overheating is a common precursor to breakdowns and can create dangerous roadside situations, so treating it as “urgent but careful” is the right mindset.
Why engines overheat after a thermostat change (most common causes)
When the thermostat is new but the engine still runs hot, the failure often sits in the steps around the install.
Air pockets from incomplete bleeding
Open the system, drain some coolant, add fresh coolant, and it’s easy to trap air. Air can prevent coolant circulation and trick the sensor into reading hotter than normal, or genuinely create hot spots. This is probably the most common reason people search how to fix car engine overheating after thermostat change.
Thermostat installed backwards, mis-seated, or missing a gasket/O-ring
Many thermostats have a “jiggle pin” or vent that must face a certain direction, and some housings will pinch an O-ring if it’s not seated. A small sealing issue can introduce air and reduce system pressure.
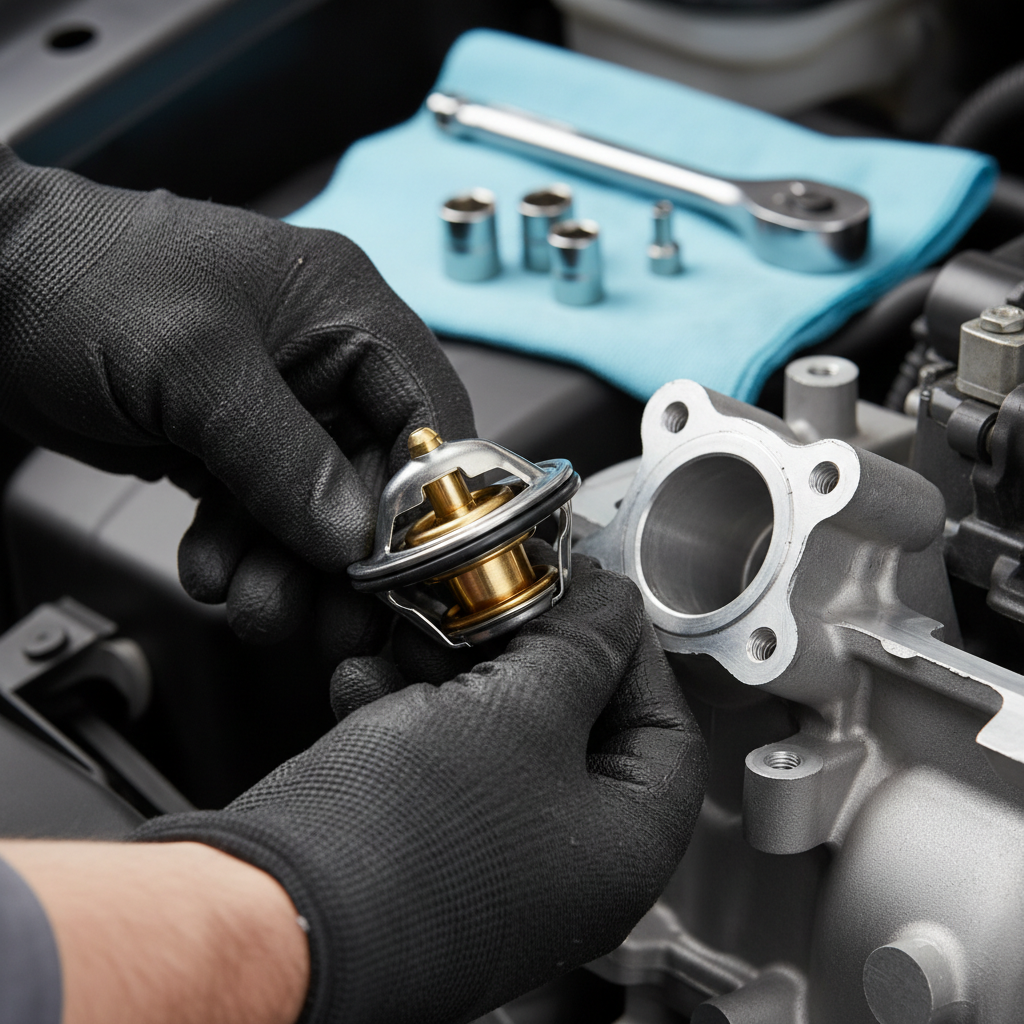
Wrong thermostat temperature rating or defective new part
Aftermarket parts can be fine, but mismatched temperature ratings happen, and occasionally a brand-new thermostat sticks closed. If overheating begins immediately after the change, don’t rule out the part.
Radiator cap can’t hold pressure
The cap is not just a lid. It maintains pressure, raising boiling point and helping coolant move properly. If it’s weak, you can get boiling, overflow, and overheating that feels “mysterious.”
Cooling fan, relay, fuse, or temperature sensor issue
Sometimes the thermostat wasn’t the real problem. A fan that never turns on (or only works with AC) can show up as overheating at idle but “fine on the highway.”
Restricted radiator or collapsing hose
A clogged radiator can’t shed heat. A soft lower hose can collapse under suction at higher RPM, cutting flow and spiking temps.
Quick self-test: which overheating pattern matches your situation?
Use this as a fast sorting tool. It’s not perfect, but it points your next check in the right direction.
| What you notice | Most likely causes | What to check next |
|---|---|---|
| Overheats quickly after start (within 5–10 min) | Air pocket, thermostat stuck closed/backwards, very low coolant | Bleed procedure, thermostat orientation, radiator level |
| Overheats at idle, improves while driving | Fans not running, fan relay/fuse, airflow issue | Fan operation test, scan for codes, inspect fan wiring |
| Overheats mostly on highway | Restricted radiator, weak water pump, collapsing hose | Radiator flow/temperature check, hose condition |
| Temp swings up/down, heater goes cold then hot | Air trapped, low coolant, cap not holding pressure | Proper bleed, pressure test cap/system |
| Coolant pushes into overflow, bubbling | Air, boiling from low pressure, possible combustion leak | Cap test, bleed, consider combustion gas test |
Step-by-step: how to fix overheating after thermostat replacement
These steps are ordered to avoid wasted effort. If you only do one thing, do the bleed correctly, with the radiator topped off.
1) Refill correctly and bleed the cooling system
Bleeding varies by vehicle. Some have bleed screws, some need vacuum fill tools, some are notorious for trapping air. A general approach that often works:
- Engine fully cool, park on level ground (or slightly nose-up if your manual recommends).
- Remove radiator cap (if accessible) and fill radiator to the brim with the correct coolant mix.
- Set HVAC to max heat and fan on low, so coolant can circulate through the heater core.
- Start engine and let it warm at idle; watch for bubbles and a drop in level as the thermostat opens.
- Top off as needed, then install the cap once bubbles reduce and heat output stabilizes.
- After a full cool-down, recheck radiator and overflow level and adjust to the “cold” mark.
According to AAA, many roadside overheating events involve coolant loss or cooling system issues; the “double-check when cold” step is where people often catch a slow drop that explains everything.
2) Confirm thermostat orientation, gasket, and torque
If bleeding doesn’t change anything, it’s time to re-check the install. You’re looking for small mistakes that create big symptoms.
- Verify the thermostat sits flat and the spring side faces the engine on many designs (confirm for your model).
- Check the O-ring/gasket is the correct one and not twisted or pinched.
- Clean mating surfaces; old gasket material can prevent sealing.
- Tighten housing bolts evenly; over-torque can crack housings on some engines.
3) Check radiator cap and system pressure
A weak cap can mimic a dozen other problems because coolant boils earlier and vents into the overflow. If you have access to a pressure tester, use it. If not, swapping in a quality cap that matches OEM pressure rating is a reasonable test in many cases.
- Inspect cap seal for cracks or flattening.
- Look for crusty residue around the filler neck, which can hint at venting.
4) Verify fan operation and basic electrical controls
If the car overheats mainly while stopped, treat the fan system as suspect.
- Turn AC on; many cars command fans on with AC. If fans run with AC but not otherwise, you might have a control issue (sensor, module, wiring).
- Check fan fuse and relay (owner’s manual often shows the locations).
- If you have a scan tool, look at coolant temperature readings and fan command status.
5) Rule out restricted flow (radiator, hoses, water pump)
This is where DIY gets more “diagnostic” than “replace one part.” Still, you can spot clues.
- After warm-up, carefully feel for uneven radiator temperature (or use an infrared thermometer): cold spots can indicate internal blockage.
- Inspect the lower radiator hose for softness; some hoses need an internal spring to prevent collapse.
- Listen for water pump bearing noise, and look for seepage from the weep hole, though a pump can fail without obvious leaks.
Common mistakes that keep the problem alive
A lot of frustration comes from repeating the same “almost right” process.
- Only filling the overflow bottle and assuming the radiator is full.
- Mixing incompatible coolants or using straight water long-term; in many climates it can work briefly, but it’s not a plan.
- Bleeding with the heater off, leaving air trapped in the heater core.
- Ignoring a small drip because “it’s just a little”; cooling systems are pressure-dependent.
- Replacing parts in a chain without confirming basics, which gets expensive fast.
When to stop DIY and get professional diagnosis
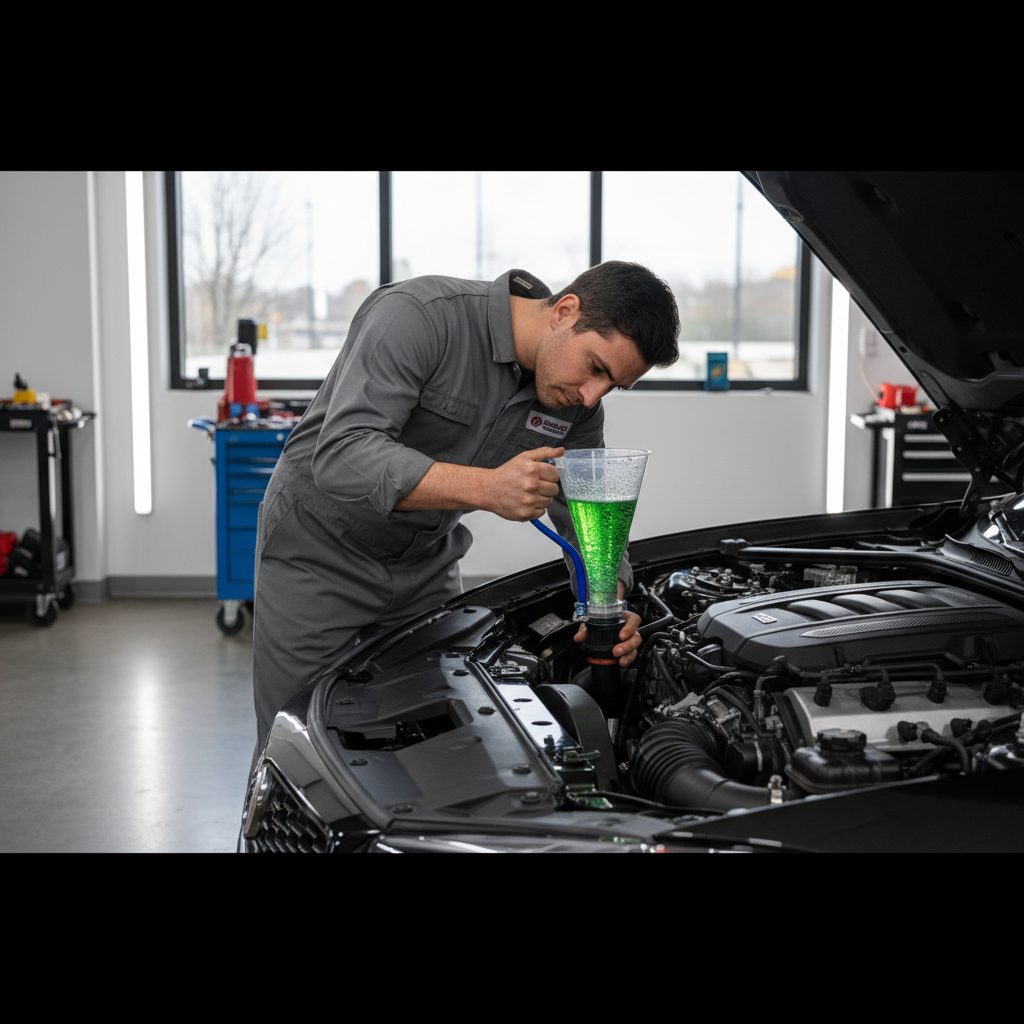
If the temperature spikes hard, coolant boils violently, or you see persistent bubbles that never settle, it’s smart to bring in a shop. Some cases need specialized tools (vacuum fill, pressure testing, combustion gas testing) and experience reading symptoms.
- Overheating continues after correct bleeding and verified thermostat install
- Coolant loss with no visible leak, sweet smell from exhaust, or milky oil
- Heater stays cold even when gauge shows hot
- Repeated overflow or pressurizing hoses rock-hard very quickly
According to SAE International, modern engine cooling systems are tightly integrated with controls and sensors, so intermittent fan control or sensor issues can require scan-tool data to confirm rather than guesswork.
Conclusion: the simplest fix is usually the right one
If you’re chasing how to fix car engine overheating after thermostat change, start by assuming air in the system or low coolant in the radiator, then work outward: verify the thermostat seating and orientation, confirm the cap holds pressure, and make sure fans actually run when they should. Most “right after the repair” overheating has a clear cause once you match the symptom pattern to a targeted check.
Your next action is straightforward: do a careful bleed and cold recheck, then decide whether the symptoms point to a fan/control issue or a flow restriction. If warning signs stack up, getting a pressure test and a quick scan for temperature/fan command data can save you from cooking the engine.
FAQ
Why is my car overheating right after I replaced the thermostat?
In many cases it’s trapped air or the radiator not fully topped off. A thermostat installed backwards or a pinched O-ring also shows up immediately, so it’s worth rechecking the install if bleeding doesn’t help.
How do I know if there’s air trapped in the cooling system?
Temperature swings, gurgling sounds, heater blowing cold while the gauge climbs, and repeated drops in coolant level after cool-down all fit that pattern. A proper bleed procedure usually improves at least one of those symptoms.
Can a new thermostat be bad out of the box?
It can happen. It’s not the most common outcome, but a thermostat can stick closed or open, especially with lower-quality parts. If every other check looks clean, swapping to an OEM-spec thermostat is a reasonable diagnostic step.
My car overheats at idle but cools down while driving—what does that mean?
That pattern often points to cooling fans not running, a fan control issue, or poor airflow through the radiator. Checking fan operation with AC on can give you a quick clue.
Do I need to open the radiator cap to add coolant?
If your car has a radiator cap, adding coolant only to the overflow bottle may not refill the radiator itself. Always follow your owner’s manual, and only open a cap when the engine is fully cool to reduce burn risk.
Could overheating after a thermostat change mean a blown head gasket?
It’s possible, but it’s not the first assumption right after thermostat work. Persistent bubbling in the radiator, unexplained coolant loss, white exhaust smoke, or contaminated oil are stronger reasons to test for combustion gases and consult a professional.
What coolant should I use after replacing a thermostat?
Use the coolant type specified by the manufacturer for your vehicle, and mix to the recommended ratio if it’s concentrate. Mixing incompatible coolant types can cause deposits or reduced protection in some systems.
If you’re still stuck after bleeding and basic checks, and you’d rather not gamble on another parts swap, a shop that can pressure-test the system and verify fan commands with scan data is often the most efficient next step.