
how to remove scratches from car paint starts with one unglamorous step: figuring out what kind of scratch you’re actually dealing with, because the fix for a light scuff is completely different from a scratch that cuts into base coat or metal.
If you’ve ever spent an hour polishing a mark only to see it come back in the sun, you already know the frustration, most “scratch removal” advice skips the diagnosis and jumps straight to products. That’s where people waste money, or worse, thin the clear coat for no reason.
This guide keeps it practical, you’ll learn how to tell light clear-coat scratches from deeper damage, what you can realistically fix at home, and when it’s smarter to hand the job to a body shop.
Start here: what kind of scratch is it?
Most car paint systems have layers: clear coat on top, then color (base coat), then primer, then metal. The “right” solution depends on how far the scratch goes.
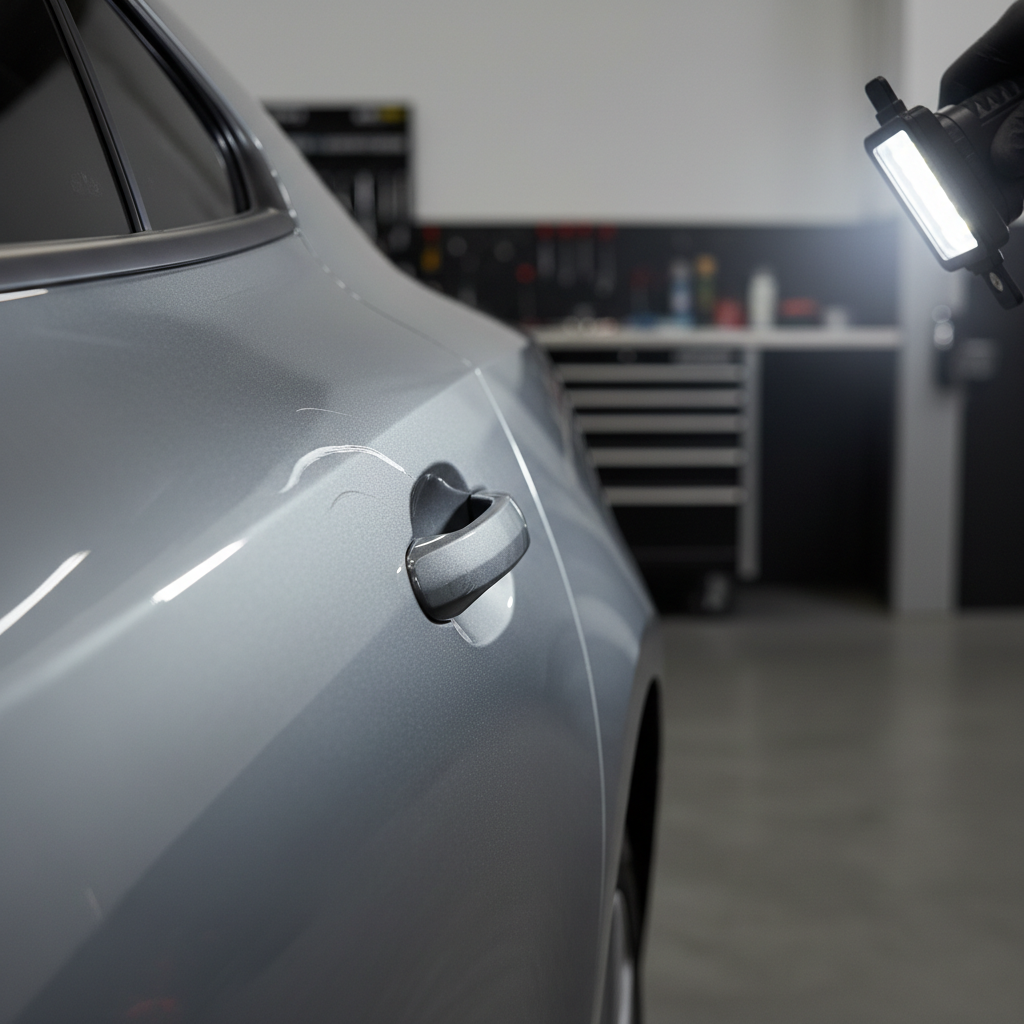
- Clear-coat scratch: looks white or hazy, often disappears when wet, no sharp edge when you run a fingernail lightly across.
- Base-coat scratch: color looks missing, the scratch stays visible when wet, your fingernail may catch slightly.
- Primer/metal showing: gray primer or bare metal visible, often a sharp groove, sometimes rust can start if metal is exposed.
A quick check that works in many cases: wash the panel, then wipe the scratch with water or detailing spray. If it nearly “vanishes” while wet, it’s usually in the clear coat and responds well to polishing.
Self-check checklist before you touch a polisher
Before you try to remove scratches from car paint, do these checks, they prevent the most common DIY damage: sanding or compounding paint that’s already thin.
- Location: edges and body lines have thinner paint, be extra conservative there.
- Size: long scratches across multiple panels can be hard to blend invisibly.
- Rust risk: any exposed metal should be sealed quickly, especially in wet or salty climates.
- Paint history: if the panel was repainted, the clear coat thickness and hardness may differ.
- Tools: if you only have an old dirty towel, pause, wrong towels create new scratches.
According to NHTSA, vehicle recalls and repairs can involve paint and body components, so if your car recently had body work or a repair related to a crash, it’s worth checking your paperwork so you know what you’re working on.
Choose the right method (table)
There’s no single “scratch remover” that fits everything. Use this as a realistic match between scratch depth and approach.
| Scratch type | What usually works | What to avoid | Expected result |
|---|---|---|---|
| Light clear-coat scuffs | Finishing polish, foam pad, microfiber towels | Wet sanding, aggressive rubbing compound | Often near-invisible |
| Moderate clear-coat scratches | Compound then polish, spot work, careful passes | Dry buffing, high pressure on edges | Usually much less noticeable |
| Base-coat scratches (color missing) | Touch-up paint + leveling + light polish | Compounding expecting it to “erase” missing color | Improved, not always invisible |
| Primer/metal exposed | Touch-up + clear + protection, or body shop | Leaving bare metal unsealed | Depends on skill and severity |
DIY method for clear-coat scratches (most common)
If the damage sits in clear coat, you’re usually correcting the surface by gently abrading it, then refining it back to gloss. That sounds scary, but the goal is minimal removal.
What you need
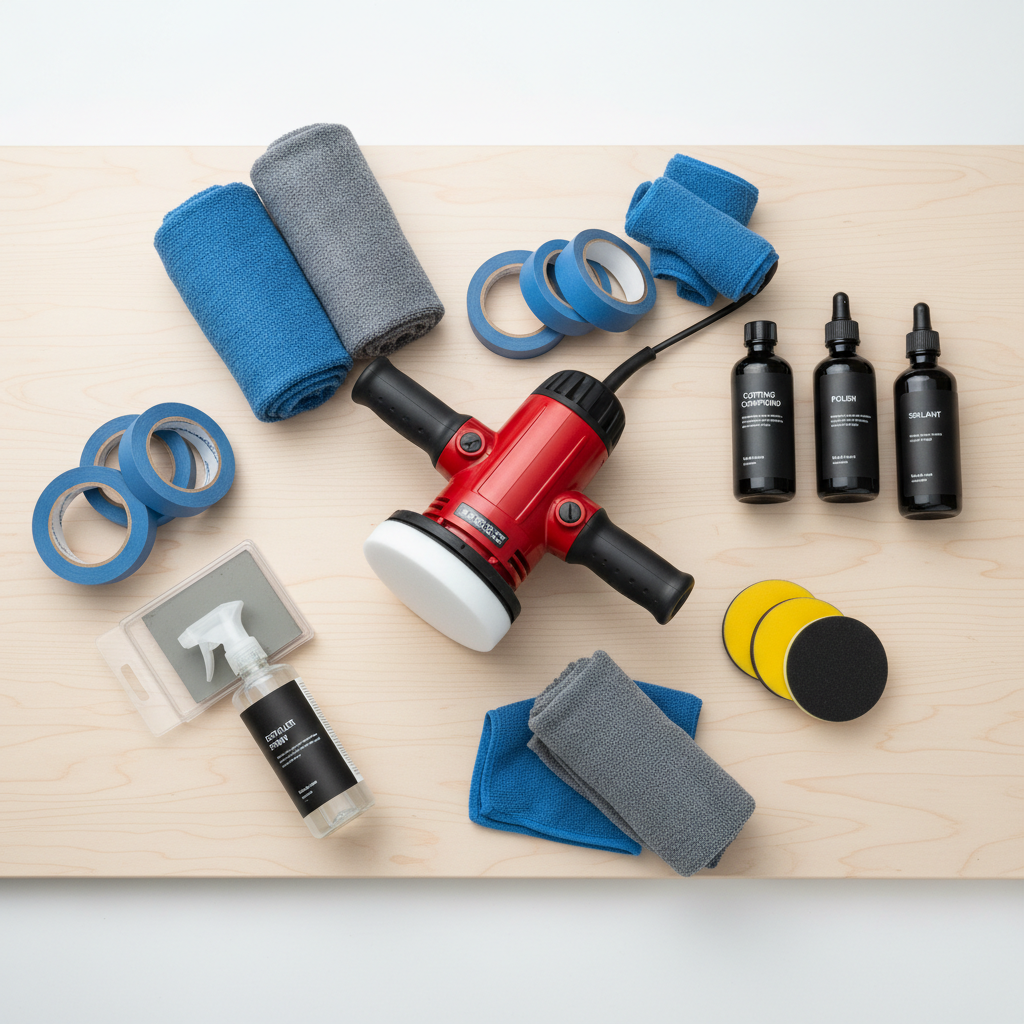
- Car wash soap, microfiber wash mitt, drying towel
- Clay bar or clay mitt (optional but helpful if paint feels rough)
- Painter’s tape for trim and edges
- Light compound and/or finishing polish
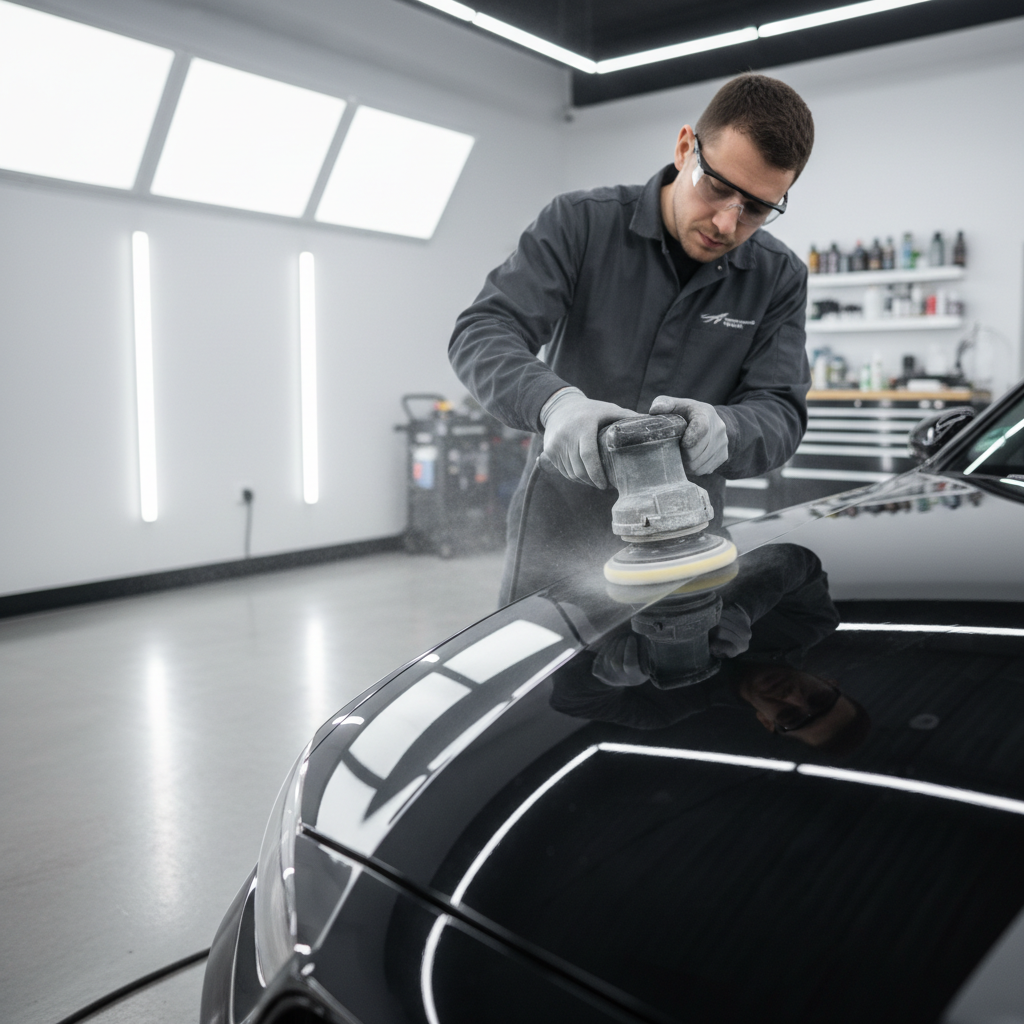
- Foam applicator (hand) or dual-action polisher (safer than rotary)
- Clean microfiber towels (several)
Step-by-step (safe version)
- Wash and dry thoroughly, any grit turns into new scratches.
- Decontaminate (optional), clay helps your pad glide and cut evenly.
- Tape trim and sharp edges, you can burn through clear faster on edges.
- Test spot first, pick the least aggressive polish that improves the scratch.
- Work a small section, about 1–2 square feet, wipe, then inspect under bright light.
- Refine, if you used compound, follow with a finishing polish to restore clarity.
- Protect, apply wax, sealant, or a ceramic spray to reduce future marring.
Key point: if you keep compounding and the scratch barely changes, it often means it’s deeper than clear coat, stop chasing it. Overworking an area is how DIY jobs turn into “now it looks worse.”
When the scratch is through the color: touch-up that looks “normal”
If color is missing, polishing can make the area shinier, but it cannot replace paint. A decent touch-up aims for: sealed, blended, less noticeable from a few feet away.
Basic touch-up workflow
- Clean and degrease the scratch, isopropyl alcohol diluted with water often works, test on an inconspicuous spot.
- Match the paint code, use the factory color code from your door jamb or manual.
- Apply thin layers, more thin coats beats one thick blob, let each layer set per product directions.
- Optional leveling, after curing, you can level carefully with a touch-up leveling solution or very fine sanding, this step is easy to overdo.
- Polish lightly around the repair, then protect the panel.
According to EPA, many automotive coatings contain chemicals that can affect air quality, so use touch-up products with good ventilation and follow label guidance, if you’re sensitive to fumes, consider letting a shop handle it.
Wet sanding: useful, but it’s the “sharp knife” in the drawer
Wet sanding can remove or reduce scratches that compounding won’t touch, but it also removes clear coat quickly if you get impatient. For many daily drivers, it’s not the first move.
- Only consider it if: you’re confident the scratch sits in clear coat and you can polish afterward.
- Avoid it if: the scratch sits on a sharp edge, the panel has unknown repaint history, or you lack proper lighting.
- If you proceed: start with very fine grit (often 3000+), use a sanding block, keep the area lubricated, and stop frequently to check progress.
Many people ask how to remove scratches from car paint “permanently,” sanding can make a mark disappear, but if you burn through clear coat, the permanent fix becomes repainting.
Common mistakes that make scratches look worse
- Using household abrasives like Magic Erasers, they can haze clear coat fast.
- One towel for everything, dirty microfiber becomes sandpaper.
- Working in direct sun, product flashes too quickly and wipes off unevenly.
- Skipping protection, unprotected paint picks up new swirls sooner.
- Chasing perfection on a deep scratch, you can improve it, but “gone” may be unrealistic without paint work.
When it’s worth calling a pro (and what to ask)
Sometimes paying for a proper correction or a spot repair is cheaper than buying tools and still ending up with a visible mark. This is especially true for scratches down to primer or metal, and for luxury finishes that show defects easily.
- Call a pro if: metal is exposed, rust has started, the scratch runs across a crease, or you see multiple deep gouges.
- Ask about process: “Is this a polish job, a touch-up and blend, or repaint?”
- Ask about protection: what they recommend after repair, and how long to wait before sealing or washing.
According to I-CAR, collision repair quality depends on proper training and procedures, so if the scratch came from an impact, an I-CAR trained shop is a reasonable filter when you’re comparing estimates.
Practical wrap-up and next steps
If you want to remove scratches from car paint with the least stress, diagnose first, do a small test spot, and stop when improvement stops. Most light clear-coat marks respond to careful polishing, deeper scratches usually need touch-up or professional repair to look truly clean.
Action steps: wash the panel, do the wet-check test, then pick the least aggressive method that moves the needle. If you see primer or metal, focus on sealing it fast and consider a shop for a cleaner finish.
Key takeaways
- Clear-coat scratches are often fixable with polish and patience.
- Missing color needs paint, polishing alone can’t replace it.
- Wet sanding can work, but it’s easy to overdo.
- Protection matters, finish the job with a sealant or wax.
FAQ
How do I know if a scratch will buff out?
If it fades dramatically when wet and your fingernail doesn’t catch much, it’s often in the clear coat and may buff out with polish. If color is missing, it won’t “buff out,” it needs touch-up or paint work.
Can I use toothpaste to remove scratches from car paint?
Toothpaste can act like a mild abrasive, but it’s inconsistent and can leave haze. For small clear-coat marks, a dedicated polish gives more predictable results and usually wipes off cleaner.
What’s the difference between compound and polish?
Compound cuts faster and removes more defects but can leave micro-marring, polish refines and boosts gloss. Many jobs need both, but light scratches often only need polish if you start gently.
Will a scratch remover product damage my clear coat?
It can if you use an aggressive product repeatedly or apply heavy pressure on thin areas. A test spot and conservative technique reduce risk, if you’re unsure, choose a finishing polish or ask a detailer.
How long should touch-up paint cure before polishing?
It depends on the product and temperature, many need at least days, sometimes longer, before leveling or polishing. Follow the manufacturer instructions closely, rushing this step can wrinkle or tear the repair.
Should I fix scratches before applying ceramic coating?
Usually yes, coatings can “lock in” defects visually. If you plan to coat the car, do correction first, then coat once the surface looks the way you want.
Is it safe to use a rotary buffer at home?
A rotary can correct fast but also burns through clear coat faster in inexperienced hands. A dual-action polisher is generally more forgiving for DIY work, and in many cases it’s enough.
If you’re staring at a scratch and you’re not sure whether it’s clear coat or through the paint, a quick set of close-up photos in good lighting and a simple test-spot plan can save time, if you’d rather avoid trial-and-error, a local detailer’s inspection often gives you a straight answer on what’s realistic.