
how to aim headlights correctly car is mostly about getting the beam height and left-right position right so you can see well at night without dazzling oncoming drivers. If your low beams feel short, scatter light everywhere, or other drivers keep flashing you, misalignment is a common cause.
This matters more than people think because modern headlights are bright by design, and a small angle error can shift the cutoff line several feet down the road. It can also make you think your bulbs are “weak” when the real issue is aim, not output.
There’s also a quiet “gotcha” many DIY guides skip: if your car is loaded down, has worn suspension, or you recently lifted/lowered it, perfect aiming on paper may still be wrong in real driving. This guide helps you diagnose which situation you’re in, then adjust with a method that’s repeatable.
Why headlights end up misaligned (real-world causes)
Headlight aim usually drifts for boring reasons, not because the lamp “went bad.” A few patterns show up again and again.
- Minor bumps and vibration: potholes, curb taps, and years of vibration can move adjusters.
- Bulb or housing work: changing a bulb, replacing a housing, or a front-end repair can disturb alignment.
- Vehicle stance changes: new springs/struts, leveling kits, lifts, lowering, or uneven tire pressure changes pitch.
- Load changes: heavy cargo, towing tongue weight, or passengers in the back makes the front aim higher.
- Wrong bulb type or seated poorly: a bulb not fully seated can throw the beam pattern off even if the aim is “correct.”
According to NHTSA, glare from improperly aimed or misaimed headlights is a safety concern because it can reduce other drivers’ visibility. That’s why it’s worth doing carefully, not just “good enough.”
Quick self-check: do you actually need to re-aim?
Before you touch adjusters, figure out whether the problem is aim, a bad pattern, or something else. This takes five minutes and saves a lot of frustration.
Signs the aim is off
- Low beams light up tree branches or signs more than the road surface.
- You can’t see far enough ahead, but high beams feel “normal.”
- Oncoming drivers flash you often on low beams.
- The left beam looks higher than the right when parked facing a wall.
Signs the issue might not be aim
- Cloudy lens: hazed plastic scatters light and destroys cutoff sharpness.
- Bad bulb fitment: beam looks blotchy or has weird hot spots.
- Wrong bulb/LED retrofit: pattern is scattered even after aiming.
If your beam pattern has no clear cutoff at all, aiming won’t magically fix glare. In many cases, the hardware setup is the real problem.
Tools and setup (what makes the “wall method” work)
You don’t need specialty equipment, but you do need consistency: flat ground, correct tire pressure, and a stable target wall. That’s what makes the results believable.
- Measuring tape
- Painter’s tape (or masking tape)
- Phillips/flat screwdriver or socket/torx (varies by vehicle)
- Level surface, vertical wall or garage door
- Owner’s manual (to locate adjusters and any aiming specs)
Setup checklist before you measure anything:
- Park on level ground, facing a wall that’s also vertical and flat.
- Set tire pressures to the door-jamb spec.
- Remove unusually heavy cargo, keep about your normal fuel level.
- Bounce the car lightly to settle suspension if it’s been jacked up recently.
- Turn on low beams, make sure both bulbs match type and color.
How to aim headlights correctly (step-by-step)
how to aim headlights correctly car comes down to two adjustments: vertical (up/down) and horizontal (left/right). Many vehicles have both, some have only vertical, and a few modern systems require scan tools or calibration after certain repairs.
Step 1: Mark the headlight center points
Park close to the wall (around 1–2 feet). Measure from the ground to the center of each low-beam projector/bulb area, then transfer those heights to the wall with tape.
- Put a horizontal tape line at the measured height for each lamp.
- Add a vertical tape line for vehicle center, then one for each headlight center.
Step 2: Back up to a consistent distance
Back the car straight back to a measured distance, commonly 25 feet in many DIY setups. Your owner’s manual may specify a different distance or target height, so follow it if available.
Step 3: Adjust vertical aim (the one that usually matters most)
On low beams, you’re looking for a clean cutoff line. For many vehicles, a practical target is that the cutoff sits slightly below the headlight-center tape line at the wall when measured at your chosen distance. The idea is simple: low beams should light the road, not faces in oncoming traffic.
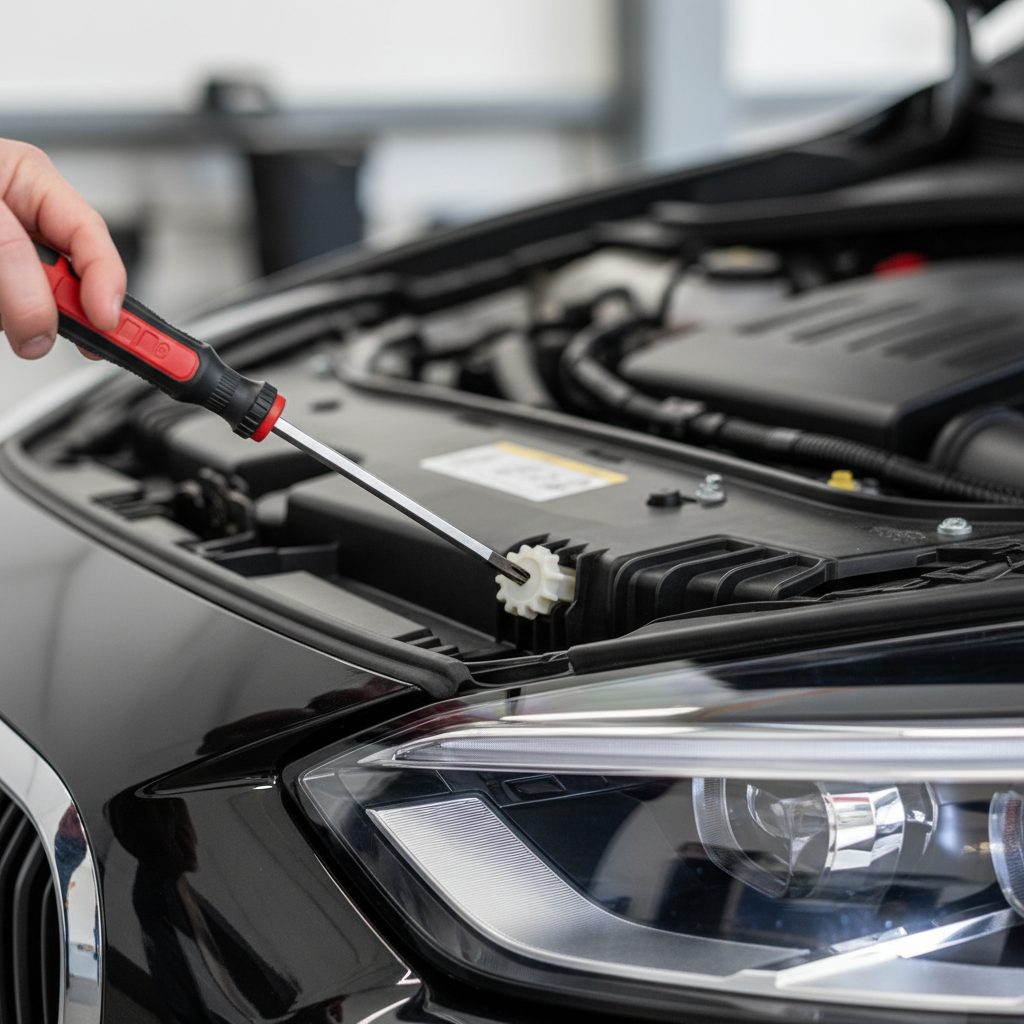
- Find the vertical adjuster (often on top or behind the housing).
- Turn in small increments, then re-check both lights.
- Keep beams even side-to-side, but don’t obsess over millimeters if the surface isn’t perfect.
Step 4: Adjust horizontal aim (only if your vehicle allows and needs it)
Horizontal aim should place the beam pattern so it’s centered slightly right of oncoming traffic. If your beams cross toward the left, you’ll create glare. If they point too far right, you’ll lose lane visibility.
- Use the vertical tape lines you set for each headlight center.
- Align the “hot spot” and cutoff step (if present) near the appropriate center reference.
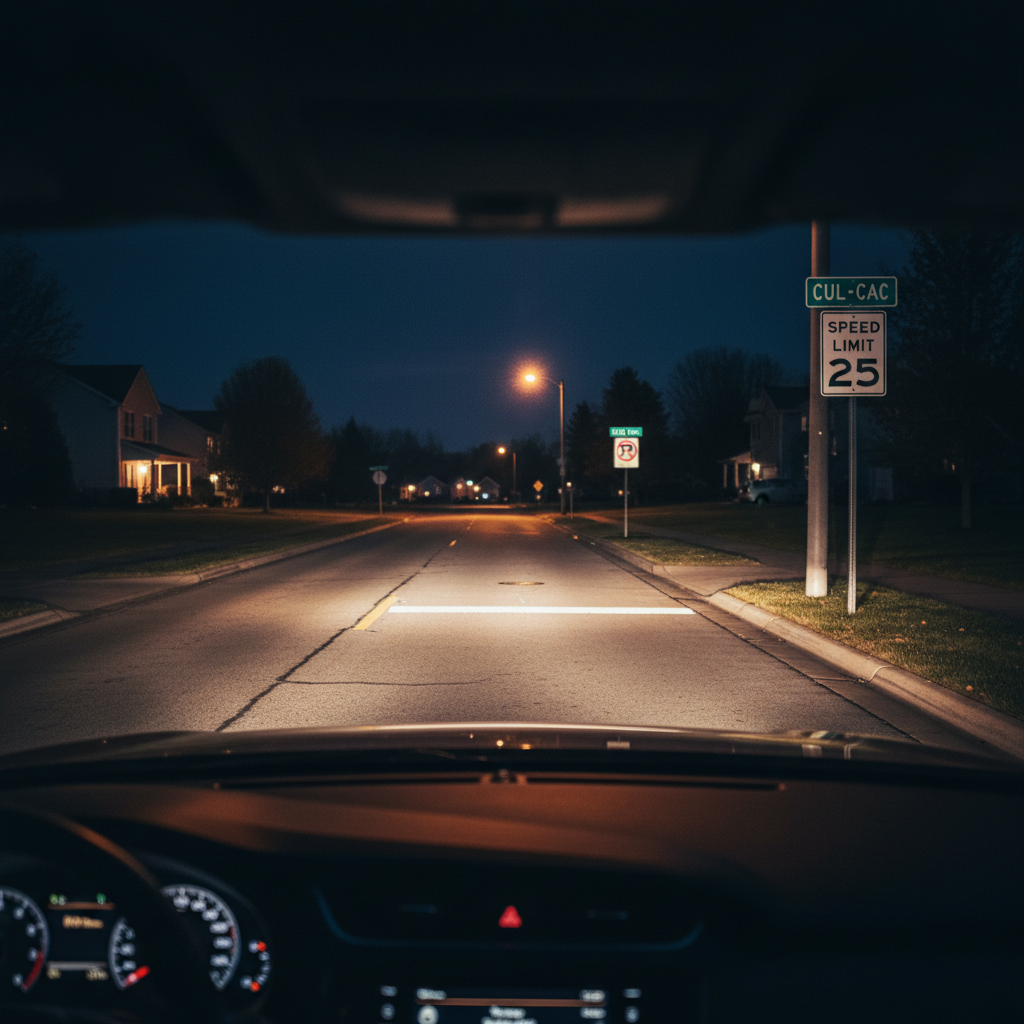
When you’re done, take a quick drive on a dark road. Real confirmation beats any wall test.
Aiming targets at a glance (practical reference table)
Exact specs vary by vehicle and headlamp type. Still, this table helps you sanity-check your results when the manual isn’t clear.
| Headlight type | What a “good” wall pattern often looks like | Common mistake |
|---|---|---|
| Halogen reflector | Less sharp cutoff, brightest area slightly below center height | Aiming too high to “see farther,” causing glare |
| Projector (halogen/HID/LED) | Sharp cutoff line, even left-to-right | Chasing a perfectly level line on an uneven surface |
| Factory LED matrix/adaptive | Cutoff may move, self-leveling behavior may appear | Adjusting manually when calibration is required |
Common mistakes that waste time (or create glare)
A lot of “I aimed them and it got worse” stories come from a few predictable errors.
- Ignoring tire pressure: a few PSI difference changes vehicle rake and beam height.
- Aiming with a heavy load, then driving empty: you aim low at the wall, then the nose rises and you glare people.
- Mixing bulb types: one new bulb and one old bulb can look like aim mismatch.
- Over-adjusting: small turns matter, especially with projectors.
- Mis-seated bulb: if the bulb tabs aren’t locked, the beam pattern lies to you.
If you recently installed aftermarket LED bulbs in a halogen housing and the light looks scattered, aiming may reduce some annoyance, but it often won’t create a proper cutoff. In that situation, consider going back to the correct bulb type or a compliant full-housing retrofit.
When to stop DIY and get professional help
Most aiming jobs are straightforward, but a few cases deserve a shop visit, mainly because safety systems or damaged parts can make “adjusting” the wrong fix.
- Adaptive headlights or auto-leveling systems: some require calibration after suspension or headlamp replacement.
- Crash damage: broken mounting tabs can let the housing shift over bumps.
- No visible adjusters: some designs hide adjusters or require specific tools.
- Persistent glare complaints: even after careful aiming, a tech can verify pattern and alignment on proper equipment.
According to AAA, driving at night carries added risk due to reduced visibility, so if you’re uncertain about your aim or your headlamps behave oddly, it’s reasonable to ask a qualified technician to verify the setup.
Key takeaways and a simple action plan
If you only remember a few things, remember these: level ground, correct tire pressure, consistent distance, small adjustments, and confirm with a real night drive. That’s the difference between “looks okay on a wall” and “actually works on the road.”
- Do a quick pattern check first, cloudy lenses and bad bulb seating can mimic mis-aim.
- Use tape lines to stay honest, then adjust in small increments.
- If you have adaptive or self-leveling headlights, check the manual before turning screws.
Tonight or this weekend, pick one: either do the wall-and-tape method carefully, or schedule a headlight aim check at a trusted shop, both are better than guessing while other drivers flash their brights.
FAQ
- How far should I be from the wall to aim headlights?
Many DIY setups use about 25 feet because it makes small aim changes easier to see, but some vehicles specify a different distance in the owner’s manual. - Should the cutoff line be exactly at headlight height?
Usually no. For low beams, a slightly lower cutoff at the wall helps keep glare down while still lighting the road, the exact target varies by vehicle. - Why do my headlights look fine on the wall but bad on the road?
Road crown, hills, suspension movement, and vehicle load can change real-world behavior. Also, a scattered beam pattern from wrong bulbs can “pass” a wall glance but still glare. - Can I aim headlights with adaptive lighting?
Sometimes there are basic adjustments, but many adaptive systems depend on calibration. If you changed ride height or replaced parts, a shop may need to calibrate sensors. - Do I need to aim headlights after replacing a bulb?
Not always, but it’s smart to re-check. A bulb seated slightly off can shift the pattern enough to notice. - How do I know if one headlight is higher than the other?
Face a wall on level ground and compare cutoff height side-to-side. If one side consistently sits higher, re-check tire pressure and then adjust. - Is it legal to adjust headlights myself?
In many places it’s allowed, but regulations vary by state and equipment type. When in doubt, follow the owner’s manual guidance or have a professional verify aim.
If you’re trying to fix glare complaints, you drive rural roads often, or you recently changed suspension height, it can be worth having a shop verify aim on proper equipment, it’s usually quick and removes the guesswork.