
How to clean fuel injectors at home usually comes down to one question: are you trying to fix mild buildup, or are you chasing a bigger drivability problem that only looks like dirty injectors. The good news is, a lot of “rough idle, sluggish acceleration, worse MPG” complaints really do improve with the right at-home approach.
What trips people up is picking the wrong method. Pour-in cleaner is easy but limited, on-car pressurized cleaning is stronger but needs more care, and taking injectors out for bench cleaning can turn into an all-day job if you’re not prepared.
This guide helps you choose a realistic path, run a quick self-check, and do a safe cleaning at home without turning a simple tune-up into a fuel leak or a check engine light you didn’t have before.
Know what “dirty injectors” looks like (and what it doesn’t)
Fuel injectors can collect deposits that distort the spray pattern, which can cause uneven combustion. That often shows up as subtle, annoying symptoms rather than dramatic failure.
- Common signs: rough idle, hesitant acceleration, mild misfire under load, reduced fuel economy, harder starts after sitting.
- Not automatically injector-related: a flashing check engine light, strong fuel smell, loud ticking, overheating, or a dead cylinder that stays dead.
According to AAA... fuel quality and maintenance habits can affect how quickly deposits build in the fuel system, which is why some vehicles respond quickly to cleaning while others barely change.
Real talk: if your car suddenly started running terribly overnight, it’s less likely that all injectors got dirty at once. Vacuum leaks, ignition issues (plugs/coils), a failing fuel pump, or a sensor problem can mimic “injector problems”.
Pick the right at-home method (quick comparison table)
Before buying anything, match the method to your symptoms, mileage, and comfort level. Here’s the practical breakdown.
| Method | Best for | Cost (typical) | Effort | Limitations |
|---|---|---|---|---|
| Pour-in fuel injector cleaner | Mild hesitation, small MPG drop, preventive maintenance | $8–$25 | Low | Slow results, won’t fix mechanical injector faults |
| On-car pressurized cleaning kit | Persistent rough idle, noticeable stumble, higher mileage buildup | $40–$120 (kit + solvent) | Medium | Requires safe fuel handling, vehicle-specific connection points |
| Remove injectors for bench cleaning | Suspected clogged injector, uneven cylinder behavior | $25–$80 (supplies) + seals | High | Risk of damaging O-rings, more downtime, not ideal for beginners |
Quick self-check: are you a good candidate for DIY injector cleaning?
If you want the “do I even bother” checklist, use this. It saves time and prevents random parts swapping.
- Green light: no fuel leaks, no strong raw-fuel odor, engine runs but feels slightly off, symptoms developed gradually, maintenance unknown or overdue.
- Proceed carefully: check engine light is on (steady), you can pull codes and they suggest lean/rich or random misfire, you’re comfortable with basic under-hood work.
- Stop and diagnose first: flashing check engine light, severe misfire, fuel in the oil, visible wetness around injectors/rail, or you recently replaced ignition parts with no change.
Also consider mileage and usage. Lots of short trips, long idle time, and inconsistent fuel quality can make deposits more likely. On the other hand, if you already run Top Tier fuel and do highway driving, injectors may not be your main issue.
Method 1: Pour-in cleaner (the safe baseline)
This is the easiest way to approach how to clean fuel injectors at home without disconnecting fuel lines. It’s not magic, but it’s a reasonable first step for mild symptoms.
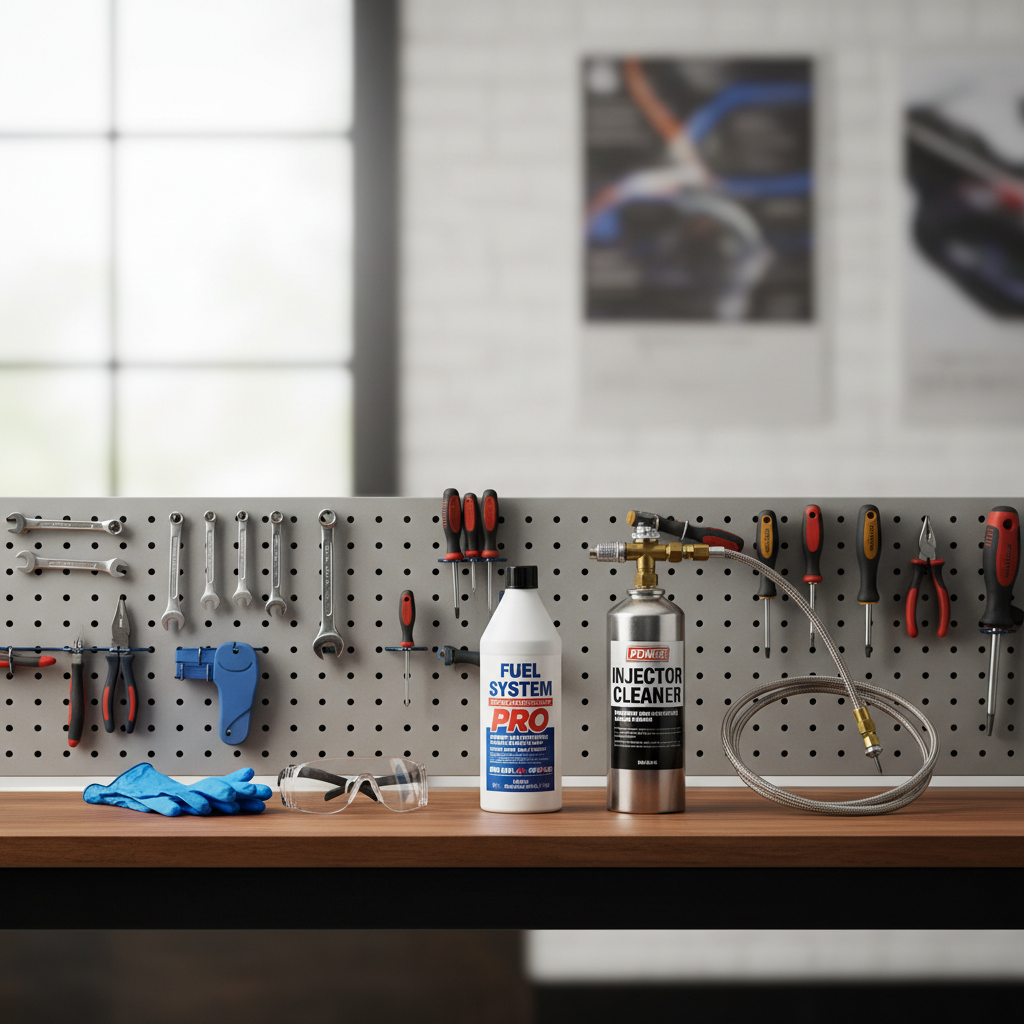
What you need
- A reputable fuel injector cleaner compatible with gasoline engines (follow label guidance)
- A full tank plan, or whatever the product specifies
- Optional: a code reader if you already have a check engine light
How to do it (without overthinking)
- Read the label and confirm it’s for your fuel type and engine. Some products are gasoline-only.
- Add cleaner to the tank when you’re about to fill up, so it mixes well.
- Drive normally, then include at least one longer drive where the engine reaches full operating temp.
Key point: don’t stack multiple cleaners at once “for extra strength.” Mixing additives can be counterproductive, and you lose any ability to judge what helped.
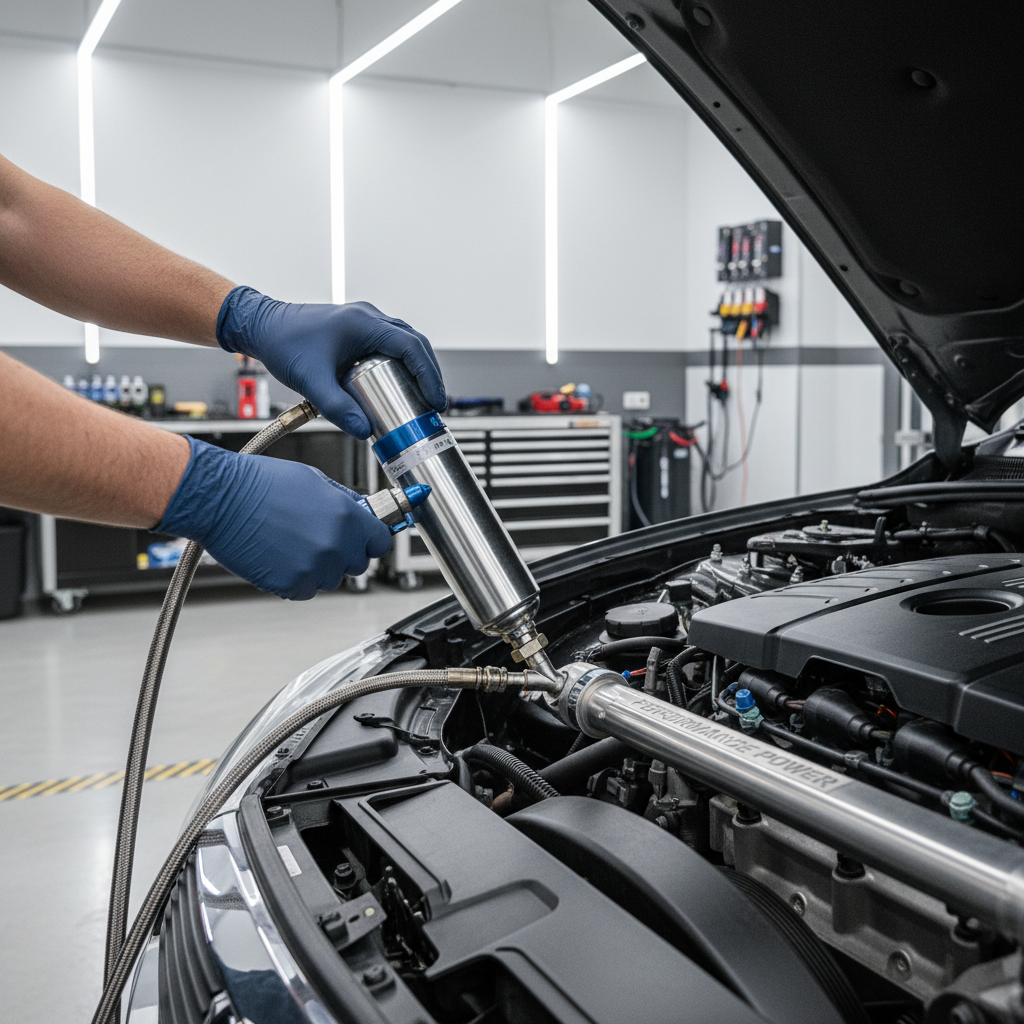
Method 2: On-car pressurized cleaning (stronger, but pay attention to safety)
This approach feeds a concentrated cleaner through the fuel rail so injectors spray it directly. Many DIYers do it successfully, but fuel handling deserves respect.
According to NFPA... gasoline vapors can ignite easily, so work in a well-ventilated area, keep sparks/flames away, and have a suitable fire extinguisher nearby. If any of that feels shaky, it’s a good reason to stop and book a shop.
What you need
- Pressurized injector cleaning kit that fits your vehicle
- Cleaner solvent intended for on-car injector cleaning
- Safety glasses and gloves
- Basic hand tools
High-level steps (vehicle-specific details matter)
- Relieve fuel system pressure using a safe, manufacturer-recommended method.
- Disable the fuel pump or isolate the fuel supply as your kit instructions describe.
- Connect the kit to the correct port or line for your engine.
- Run the engine on the cleaning solution for the specified time, monitoring for leaks.
- Reconnect everything, cycle the key, and check carefully for seepage before driving.
This is where people get burned: forcing fittings, skipping new sealing washers where required, or ignoring a faint fuel smell. If anything seems off, shut it down and re-check.
Method 3: Removing injectors for bench cleaning (only if you’re ready)
If you’re here because one cylinder keeps acting up, you might be tempted to pull the injectors. That can be valid, but it’s also the fastest way to create new problems if you rush.
When it makes sense
- You have repeatable symptoms tied to one cylinder, and basic ignition checks don’t explain it.
- You’re already doing intake manifold or fuel rail work, so injectors are accessible.
- You’re prepared to replace injector O-rings and lubricate them correctly on reinstall.
Common DIY bench-clean approach (general)
- Remove the fuel rail and injectors carefully, keeping dirt out of open ports.
- Replace upper and lower seals as needed, old O-rings often tear on removal.
- Clean externally only, avoid soaking electrical portions.
- For true internal cleaning and flow testing, many people send injectors to a service that can ultrasonic clean and measure flow.
Key point: “Bench cleaning” without flow testing can improve spray pattern in some cases, but it can’t confirm whether one injector still flows less than the others. That’s why professional services exist.
Mistakes that waste time (or create new issues)
- Assuming injectors are the problem because of a misfire code: misfires often trace back to ignition, vacuum leaks, or compression issues.
- Ignoring fuel quality and filter history: if contamination exists in the tank, cleaning injectors won’t stop recurrence.
- Overusing additives: more frequent dosing than the label suggests can be unnecessary, sometimes it just masks the real problem.
- Skipping leak checks after any fuel system work: even a slight seep can become dangerous.
If your vehicle is direct-injected, injector deposits can behave differently than port injection. Some drivability issues come from intake valve deposits instead, and injector cleaning won’t fully address that.
When it’s smarter to get professional help
DIY fits a lot of situations, but there are clear “hand it off” moments.
- Fuel smell in the cabin, visible leaks, or wet fuel rail areas
- Flashing check engine light, severe shaking, or stalling in traffic
- Repeated misfire on the same cylinder after plugs and coil checks
- You need confirmation via injector balance test, smoke test, or fuel pressure diagnostics
According to NHTSA... safety defects and recalls can involve fuel system components, so it’s also worth checking open recalls before spending time and money on cleaning.
Practical wrap-up: the simplest plan that works for most people
If you’re trying how to clean fuel injectors at home for the first time, start with a quality pour-in cleaner and a full tank, then evaluate over the next 1–2 tanks. If symptoms are moderate and persistent, an on-car pressurized cleaning can be the next step, but only if you can do it safely and your kit matches the vehicle.
Action steps: pick one method, make one change at a time, and confirm improvement with something concrete like idle smoothness, cold-start behavior, or MPG over a couple fill-ups. If the car still misfires or throws codes, shift to diagnosis instead of “more cleaner.”