
How to fix oil leak in car starts with one unglamorous move: identify exactly where the oil comes from, because “a little drip” can mean anything from a loose drain plug to a failing gasket.
If you catch a minor leak early, you often avoid the two big headaches, low oil that risks engine wear and oil that lands on belts, rubber, or hot exhaust parts.
This guide walks you through safe checks, quick at-home fixes that are realistic for most drivers, and the red flags that mean it’s time to stop and call a shop.
Safety first: what to do before you touch anything
Oil leaks are usually manageable, but the “minor” label can trick people into rushing. Give yourself a safer setup, and you get better results with less mess.
- Let the engine cool, especially before looking near the exhaust manifold, catalytic converter, or turbo plumbing.
- Park on level ground and set the parking brake, then use wheel chocks if you lift the car.
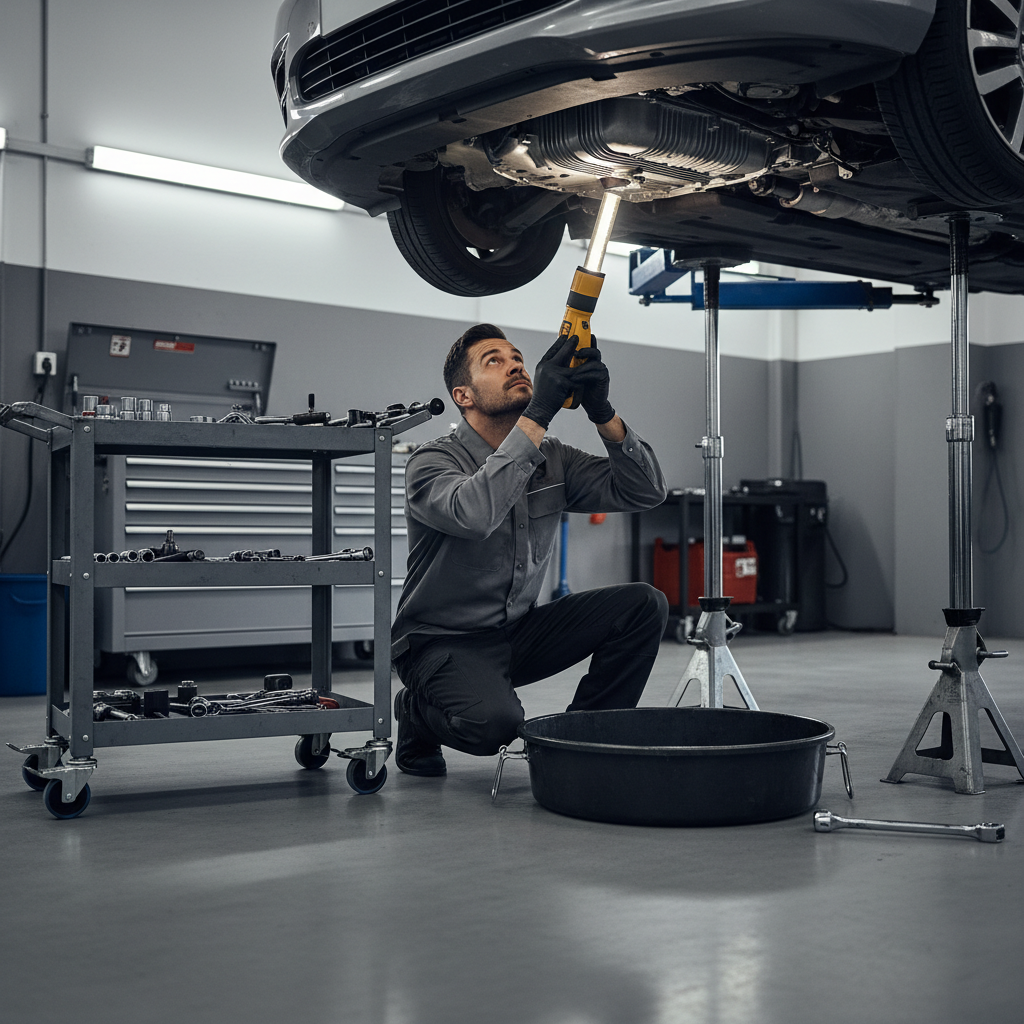
- Use jack stands if you go underneath, never rely on a jack alone.
- Ventilate the area if the engine bay smells like burning oil.
According to NHTSA, you should address vehicle defects that can affect safe operation, and fluid leaks that reach hot components can become a safety risk, so treat “smoke or burning smell” as a priority, not a nuisance.
Is it really engine oil? quick identification that saves time
Not every dark spot is motor oil, and guessing wrong wastes a weekend. Do a simple check before you start tightening random bolts.
- Color and feel: fresh oil looks amber, used oil looks dark brown to black and feels slick.
- Smell: engine oil has an oily, slightly burnt smell, coolant smells sweet, gas smells like gas.
- Where it lands: engine oil often drips from the front-middle area, transmission fluid may drip closer to the center/rear.
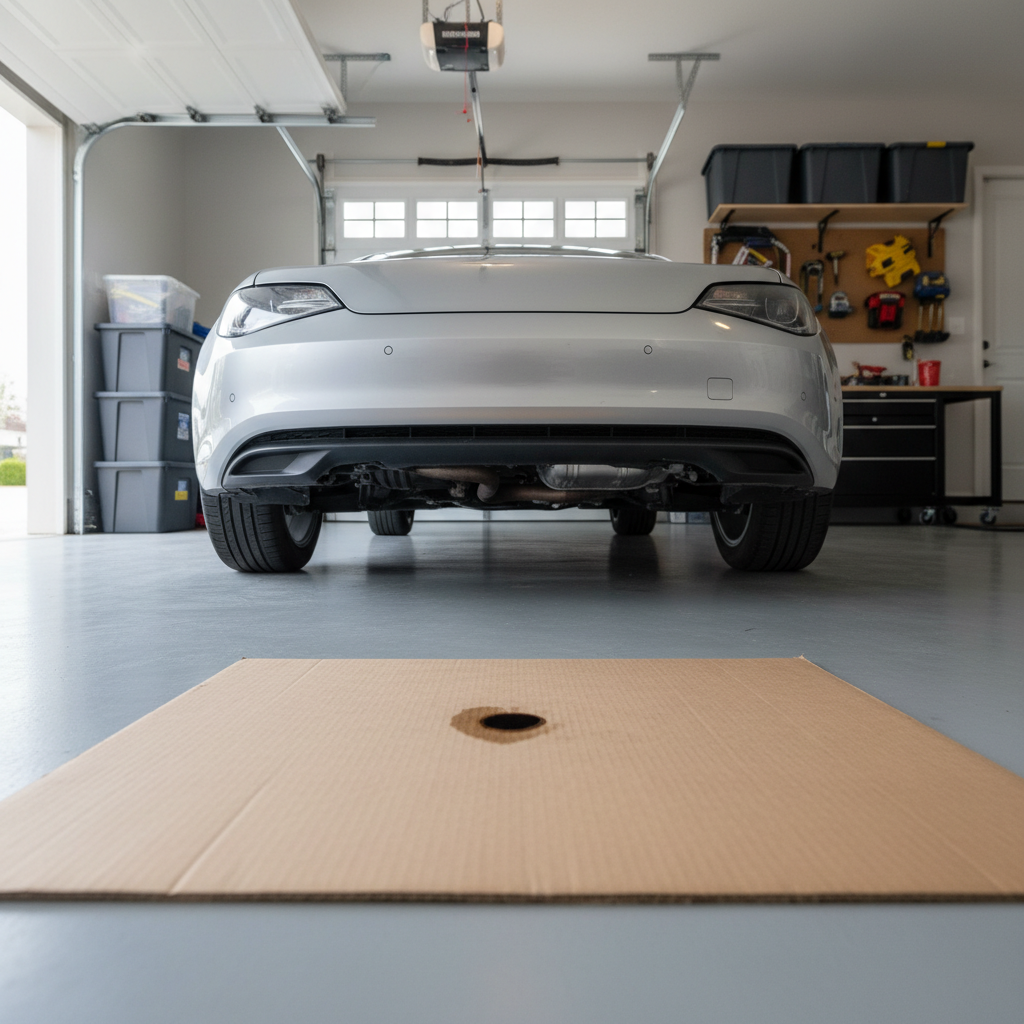
A practical trick, slide a piece of clean cardboard under the engine overnight, then note the drip location relative to the front bumper and wheels.
Common causes of a minor oil leak (and what they look like)
Most small leaks come from a handful of places. You’re looking for wetness, fresh drips, or oily grime that keeps returning after you clean it.
Oil filter or oil drain plug
If the leak started after an oil change, this is the first suspect. A filter that’s not snug, a double-gasketed filter, or a drain plug with a tired crush washer can all weep.
Valve cover gasket
This often shows as oil along the top edges of the engine, sometimes running down the side. You may also notice an oil smell after driving.
Oil pan gasket or oil pan damage
Seepage around the pan rail is common on higher-mile vehicles. A dented pan can also distort sealing surfaces.
Front or rear main seal, cam seals
These can start as “just damp,” but repairs usually involve more labor. If oil appears behind the crank pulley area or inside the bellhousing area, keep expectations realistic.
PCV system issues (pressure pushing oil out)
A stuck PCV valve can raise crankcase pressure and force oil past seals that otherwise look fine. This is one reason a leak can appear “out of nowhere.”
Quick self-check checklist: can you DIY this or not?
Before you decide how to fix oil leak in car at home, sort your situation into “small and accessible” vs “possible internal seal or risky to drive.” Use this list.
- You’re likely in DIY territory if the leak is a light seep, the engine oil level stays stable over days, and the wet area is around the filter, drain plug, valve cover edge, or a loose cap.
- Plan for a shop if oil drips onto the exhaust, you see smoke, oil pressure warning appears, the dipstick level drops quickly, or the leak seems to come from behind the crank pulley or transmission bellhousing.
- Do not drive if the oil light comes on or the engine sounds louder than normal, that can indicate low pressure or low oil.
According to AAA, warning lights and abnormal smells should be taken seriously, and continuing to drive with low fluids can lead to expensive damage, so when in doubt, prioritize checking the oil level before “one more trip.”
Step-by-step: how to fix minor oil leaks you can realistically handle
Start by cleaning first. If everything is already coated in grime, you can’t tell active leaking from old residue.
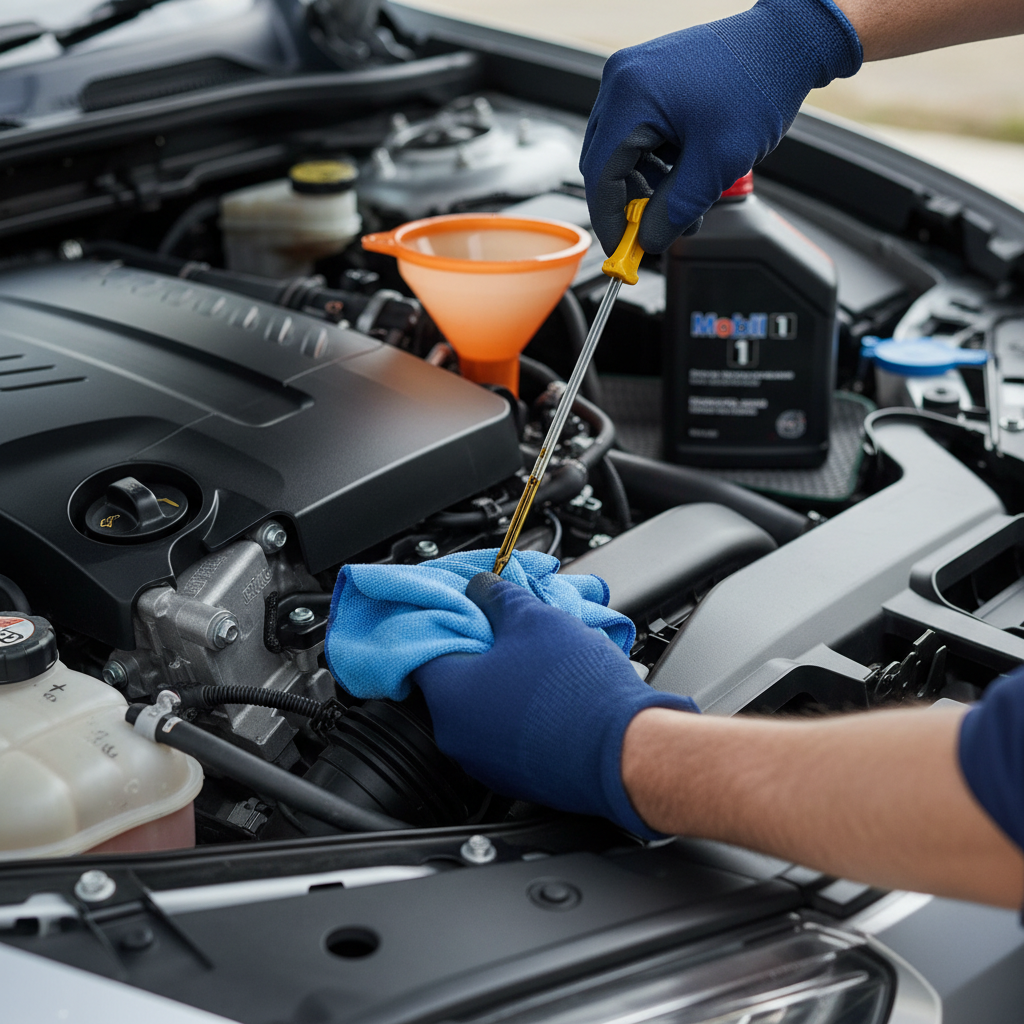
1) Confirm oil level and top off correctly
Check the dipstick on level ground, then add the correct oil grade in small amounts. Overfilling can create its own problems, including foaming and increased crankcase pressure.
2) Clean the area so the real leak shows itself
Use a degreaser made for engines, wipe down accessible surfaces, then drive a short loop and re-check. In many cases you’ll see a fresh wet line leading to the source.
3) Tighten the oil filter (carefully)
If oil appears around the filter, confirm it’s hand-tight plus the manufacturer’s recommended fraction turn. If you suspect a double gasket, the filter must come off, the old gasket removed, and a new filter installed.
4) Inspect and snug the drain plug, replace the washer if needed
A slow drip at the plug often points to a crush washer or gasket that no longer seals well. Many vehicles use a replace-every-time washer, and reusing it can cause seepage. Tighten to spec if you have a torque wrench, because overtightening can strip threads.
5) Check the oil filler cap and PCV valve basics
A missing cap gasket or a cap that doesn’t seat can mist oil around the valve cover area. If the PCV valve is cheap and accessible, replacing it is sometimes a reasonable preventive move, though routing and part type vary by engine.
6) Temporary options: when a stop-leak makes sense (and when it doesn’t)
Seal conditioners and stop-leak additives can reduce seepage on older seals in some situations, but they’re not a cure for torn gaskets, cracked housings, or heavy leaks. If you’re under warranty, or if the engine is sensitive to oil specs, skip additives and ask a professional.
Repair-at-a-glance table (symptom → likely source → next action)
Use this as a quick map when you’re deciding what to inspect next.
| What you notice | Most likely source | What to do next |
|---|---|---|
| Leak starts right after oil change | Oil filter, drain plug/washer | Check filter seating, confirm no double gasket, inspect plug and washer |
| Oil along top edge of engine, smell after driving | Valve cover gasket, filler cap | Inspect valve cover perimeter, check cap seal, watch for oil onto exhaust |
| Drips from low front area, pan looks wet | Oil pan gasket, pan damage | Clean and re-check, inspect pan bolts, plan gasket service if seep continues |
| Oil behind crank pulley or splattered near belts | Front main seal, cam seals | Limit driving, get diagnosis, repairs often require more labor |
| Oil level drops fast, oil light flickers | Active leak or internal consumption | Stop driving, check level, tow if needed, have shop pressure-test and inspect |
Common mistakes that make a “small” leak worse
A lot of frustration comes from good intentions plus the wrong move.
- Cranking bolts tighter on valve covers or oil pans, many fasteners strip easily and overtightening can warp sealing surfaces.
- Ignoring oil on rubber, oil softens some hoses and bushings over time, clean it off after you address the source.
- Using the wrong RTV sealant or smearing it everywhere, some engines need specific sealant only at certain corners, excess can break loose and clog pickup screens.
- Not re-checking after cleaning, without a clean baseline, you end up “fixing” the wrong part.
When to get professional help (and what to ask for)
Sometimes the smartest “fix” is paying for a correct diagnosis, especially when the leak source hides behind covers.
- If oil drips onto the exhaust, you see smoke, or there’s a strong burning smell.
- If the oil pressure light comes on, even briefly, after verifying the oil level.
- If the leak appears to come from a main seal area, timing cover area, or inside the transmission bellhousing region.
- If you’ve tightened and re-checked the filter and plug but the leak persists.
Ask the shop whether they can add UV dye and use a UV lamp, or perform a proper clean-and-recheck after a short drive. Those steps often pinpoint the source without guessing.
Key takeaways and a realistic next step
If you want a clean, practical way to approach how to fix oil leak in car, focus on what you can verify: oil level, fresh vs old residue, and the most common post-service culprits like the filter and drain plug.
Pick one action today, place cardboard to confirm drip location and check the dipstick, then schedule time for a targeted inspection with the engine cool. If anything suggests fast loss, smoke, or warning lights, get professional help rather than trying to “nurse it along.”