
how to clean car wheels and rims comes down to two things: matching the cleaner and tools to your wheel finish, and not letting brake dust bake on long enough to become a scrubbing contest.
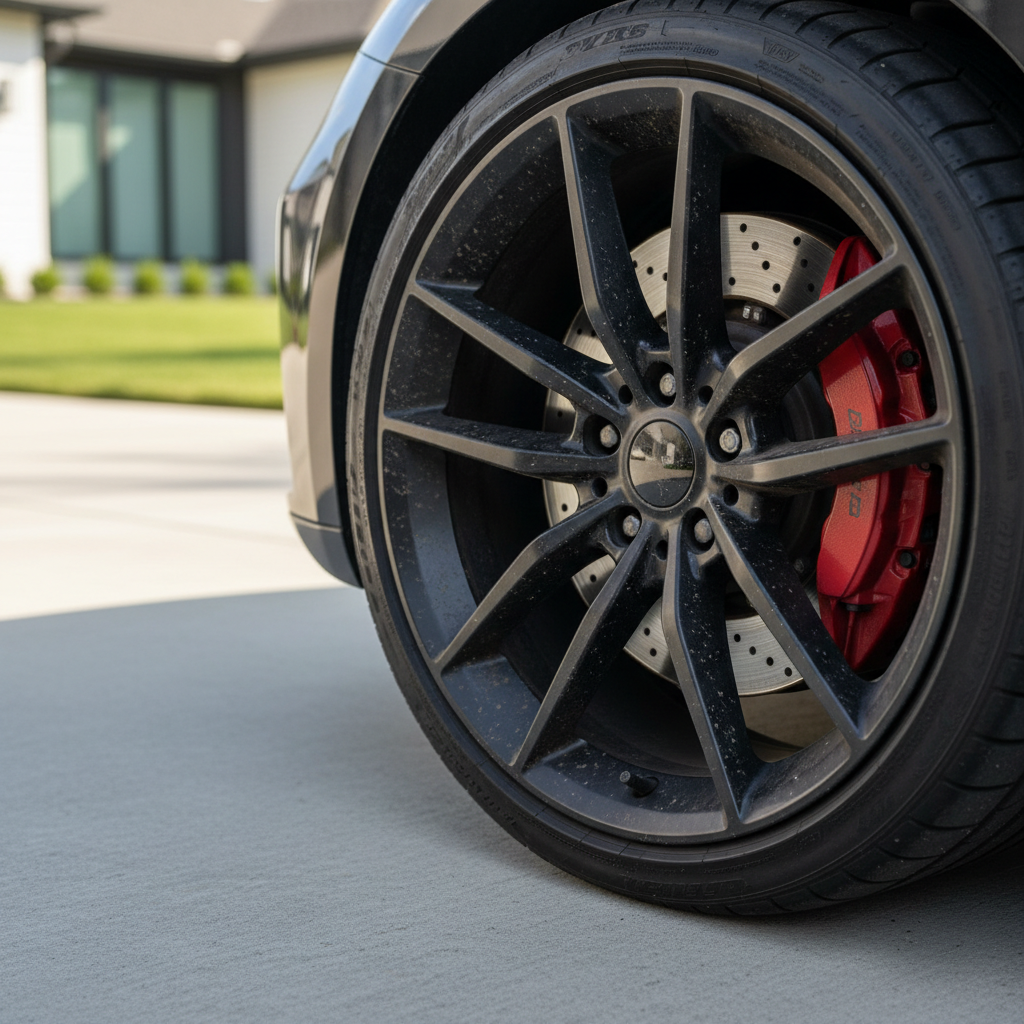
If you have ever cleaned the car body beautifully, then looked down and saw brown brake dust stuck in the barrel, you already know why wheels feel like a separate job. They collect hot metal particles, road film, salt, and tar, and a quick rinse rarely touches the worst areas.
This guide keeps it practical: how to figure out what finish you have, what to use (and what to avoid), a step-by-step wash that works in a driveway, plus a few habits that make the next wash easier.
Know your wheel finish before you pick a cleaner
Most wheel-cleaning mistakes start here. The “strong” cleaner that melts grime on one wheel can stain or haze another, especially if the finish is bare metal or has an aging clear coat.
- Clear-coated alloy (most common): Usually safe with pH-balanced or mild wheel cleaners, plus gentle agitation.
- Painted wheels: Treat like paintwork, use a pH-neutral shampoo or wheel-safe cleaner, avoid harsh acids.
- Chrome: Generally durable, but scratches show easily, stick to soft brushes and non-abrasive towels.
- Polished or bare aluminum: More sensitive, avoid acidic products and aggressive chemicals, test spot first.
- Matte or satin finishes: Avoid glossy dressings and harsh cleaners, use matte-safe products.
If you are unsure, use the mildest approach first and test in a small hidden area (inside a spoke or near the valve stem). Many issues happen when cleaner dries on the surface, so shade and cool wheels matter as much as chemistry.
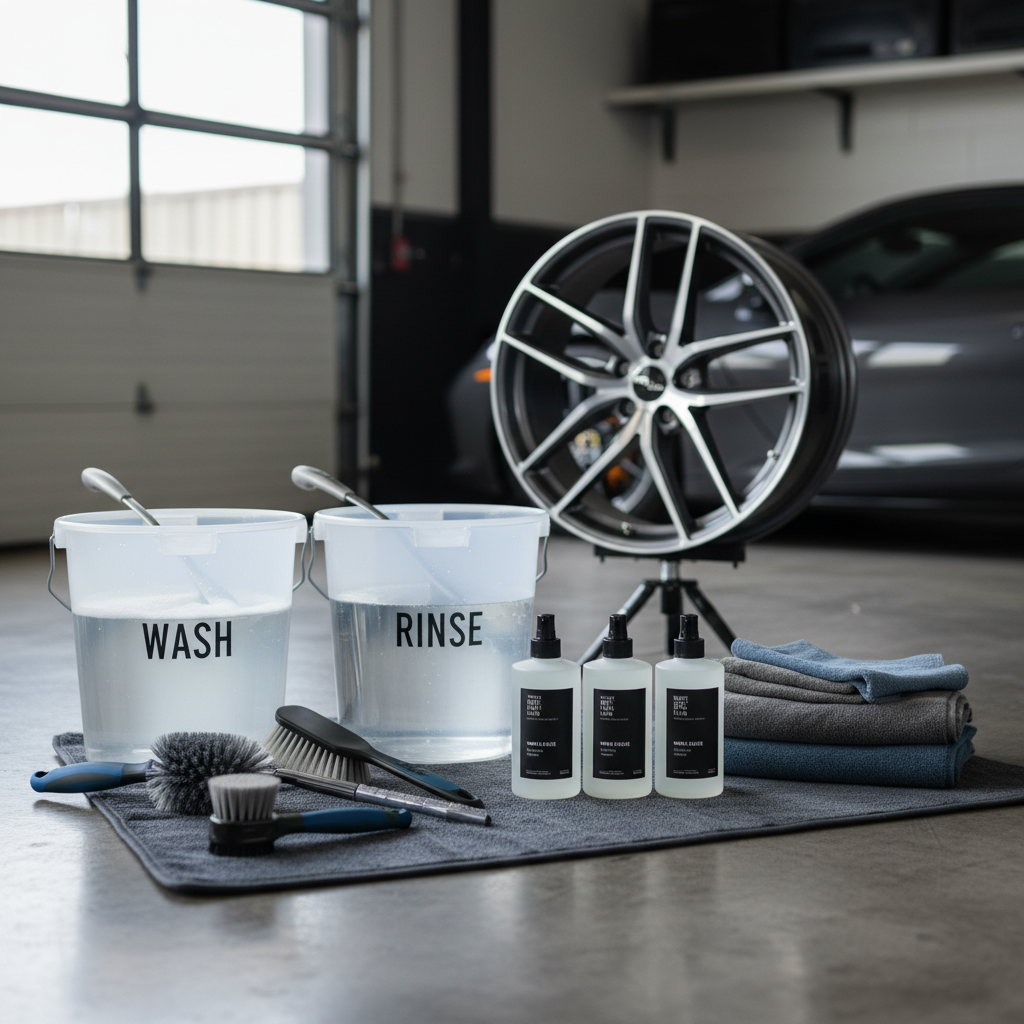
Tools and products that make the job easier (without going overboard)
You do not need a wall of bottles, but the right basics reduce scrubbing and help prevent marring.
- Two buckets (wash and rinse) with grit guards if you have them
- Wheel cleaner (pH-balanced is a safe default), plus car shampoo
- Soft wheel face brush and a barrel brush for the inside
- Lug nut brush or small detailing brush for tight areas
- Microfiber wash mitt dedicated to wheels only
- Microfiber drying towels (also dedicated to wheels)
- Iron remover for heavy brake dust, used occasionally, not every time
- Optional protection: wheel sealant or a ceramic spray made for wheels
According to the U.S. Environmental Protection Agency (EPA), best practice for washing vehicles at home often includes choosing a location where wash water does not run into storm drains, since storm drains commonly flow directly to local waterways.
Quick self-check: what kind of wheel dirt are you dealing with?
Before you start, take 20 seconds and decide what you are fighting. This helps you avoid unnecessary harsh products.
- Light road film: Gray haze that rinses partly away, usually responds to shampoo and a soft brush.
- Brake dust: Brown or dark buildup, especially near the caliper area and behind spokes, often needs a wheel cleaner or iron remover.
- Tar spots: Small black dots, often behind the wheel arch side, may need a dedicated tar remover.
- Salt residue: White crusty film in winter states, needs thorough rinse and gentle agitation.
- Etching or staining: Looks like permanent spotting or dull patches, may require polishing or professional refinishing.
How to clean car wheels and rims: the driveway-safe step-by-step
Do this with cool wheels, in shade if possible. Hot brakes plus cleaner can dry quickly, and that is when streaking or staining becomes more likely.
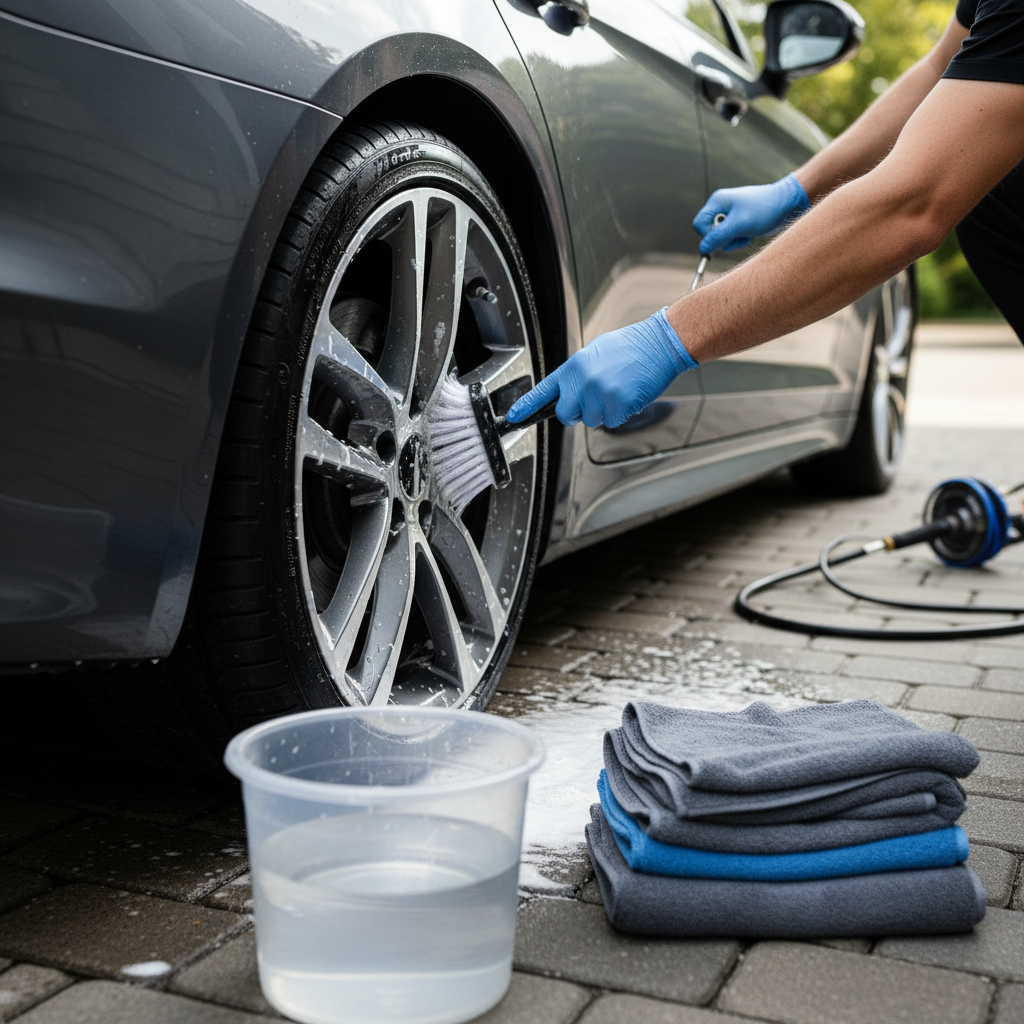
1) Rinse thoroughly, including the barrel
Start with a strong rinse to knock off loose grit. Aim water behind the spokes and into the barrel because that hidden dirt later drips onto your clean wheel face.
2) Pre-clean: apply wheel cleaner, let it work briefly
Spray wheel cleaner on the face and into the barrel. Follow the label dwell time, and do not let it dry. If the product is color-changing, treat that as a timing cue, not a reason to leave it longer than recommended.
3) Agitate in the right order (cleanest to dirtiest)
- Wheel face and spokes: Soft brush or mitt, light pressure
- Lug areas: Small brush, avoid grinding grit into the finish
- Barrel: Barrel brush, slow controlled passes
- Tire sidewall: Separate stiff tire brush is fine here, keep it off the rim if possible
4) Rinse completely
Rinse until water runs clear and you do not see suds or cleaner residue around lug holes and spoke edges.
5) Wash with shampoo (optional but worth it)
If you used a strong wheel cleaner or the wheel was extremely dirty, a quick shampoo pass helps neutralize residue and leaves a more consistent finish.
6) Dry to prevent spotting
Dry with microfiber towels, then use a second towel for final buffing. If you have hard water, drying becomes even more important than the product choice.
When to use iron remover (and when it is overkill)
Iron removers target embedded metallic particles that ordinary soap leaves behind. They are useful when brake dust has bonded to the surface, especially on light-colored wheels.
- Good time to use it: wheels look clean but still feel rough, or you see stubborn brown specks near the spokes.
- Skip it when: a normal wash removes the grime, or you clean weekly and buildup stays light.
Use with ventilation and gloves if you have sensitive skin, since many formulas have strong odors and may irritate. If you notice discoloration on older or damaged clear coat, stop and rinse, then reassess with a milder approach.
Protection: make the next wash faster
If you only do one “extra” step, protect the wheel face after it is clean and dry. Protection does not stop brake dust, but it reduces how strongly it sticks.
- Spray sealant: Fast, beginner-friendly, good for maintenance.
- Wheel wax/sealant paste: More effort, often longer lasting.
- Wheel-rated ceramic spray or coating: Can improve chemical resistance, but prep matters more than hype.
Apply thin, buff off fully, and avoid slinging product onto braking surfaces. If you are unsure whether a product is safe for your finish, test a small area first.
Common mistakes that cause scratches, streaks, or damaged finishes
- Cleaning in direct sun: most products spot when they dry, even “safe” ones.
- Using the same mitt for paint and wheels: wheel grit can create paint swirls quickly.
- Too much pressure on a dirty wheel: let chemistry and rinse do the heavy lifting.
- Steel wool or harsh abrasives on the face: might “work” once, then you chase scratches forever.
- Ignoring the barrel: dirt inside the wheel makes the clean face look worse over time.
- Spraying strong acid on unknown finishes: can haze, stain, or lift compromised clear coat.
Key takeaway: If you can keep wheels cool, rinse thoroughly, and use dedicated wheel tools, you solve most problems without aggressive chemicals.
Wheel-cleaning table: match the problem to the method
| What you see | Likely cause | What usually works | What to avoid |
|---|---|---|---|
| Light gray film | Road grime | Shampoo + soft brush | Heavy acids, harsh scouring |
| Brown dust stuck near spokes | Brake dust | Wheel cleaner + agitation | Letting cleaner dry on wheel |
| Tiny rough specks after washing | Embedded iron | Iron remover occasionally | Overusing strong chemicals weekly |
| Black dots/tar flecks | Road tar | Tar remover + gentle wipe | Abrasive pads on clear coat |
| Dull patchy areas | Etching/clear coat failure | Polish or refinishing consult | More aggressive cleaner “to fix it” |
When you should stop and consider professional help
If you are doing everything right and the wheel still looks stained, the issue may not be dirt. Clear coat failure, etching from harsh chemicals, and deep pitting can look like “stuck brake dust,” but they do not wash away.
- Persistent haze or peeling clear coat: a wheel refinisher can confirm what is happening.
- Cracks, bends, air leaks: cleaning will not solve safety issues, a wheel shop should inspect.
- Unknown aftermarket finish: if you cannot identify it, a detailer can recommend safer products and process.
For safety, avoid spraying cleaners on hot brakes or immediately after spirited driving, and if any product causes irritation or breathing discomfort, rinse the area and consider consulting a professional.
Conclusion: keep it simple, keep it consistent
Clean wheels rarely come from one heroic deep-clean, they come from a repeatable routine. Cool wheels, a safe cleaner, dedicated brushes, and complete drying usually get you 90% of the way there.
If you want a practical next step, put a dedicated wheel mitt and a small lug brush in your wash kit, then clean wheels first every wash. The next time you tackle how to clean car wheels and rims, it will feel less like damage control and more like maintenance.